The Problem With Robot Vision + Surface Finishing (solved)

Posted on Jul 30, 2020 1:05 PM. 7 min read time
You've got a surface finishing task.
You want to detect the parts with robot vision.
Simple, right?
Not always. Surface finishing can make it difficult for the robot to redetect the object. This leads to missed objects, inefficient programming setups, and a lack of robustness in your application.
But, there is a solution…
One of the restrictions of robot vision is that it requires the detected objects to remain fairly identical between when you train the object to when it is detected. This is not usually a problem. Normally, we detect our parts at the same stage in the production process so they all look very similar when the robot detects them.
The problem with surface finishing is that it inherently involves changing the appearance of objects. In fact, that's the whole purpose of surface finishing!
How can you get reliable results with your robot vision if the parts keep changing!?
What happens when surface finishing changes the object
Does this situation sound familiar?
You use your part to teach the robot's vision algorithm. Then, you do a test run. It seems to work perfectly – the robot can detect the part at multiple stages in the process.
But, of course, you're not testing it in a real production environment. You're just going through the motions of the surface finishing operation during the development. When you start doing real tests – with the surface finishing running for real – the robot sometimes misses objects after they have been sanded, polished, and/or painted.
Why isn't the object detection algorithm able to recognize your finished parts?
This can be an infuriating situation, but it is quite common.
Why surface finishing confuses the vision algorithm
The problem lies in how robot vision detects objects.
Robot vision is often based around an algorithm called Template Matching. This algorithm works by detecting the features of the object and using this as the "template." During the detection phase, the algorithm then searches for this template within its current image (for more detailed information about how template matching works, see our previous article).
There are several challenging situations for robot vision. One big challenge occurs when there is too much variation between the parts. The template matching algorithm considers that the object in the image doesn't match the template closely enough so it ignores the object.
Of course, you could set the algorithm to be more permissive, but this would lead to "false positives" (i.e. when the algorithm detects a part that isn't there or mistakes one part for another).
When your robot fails to detect the finished part, this is exactly what's happening.
You trained the algorithm on the unfinished part. But, now the part is smaller, smoother, or a different shape. The color might be different or the lighting might interact differently with the surface of the object. From the perspective of the algorithm, it's a completely different type of object.
In this situation, you might assume that you just need to retrain the algorithm for the finished parts.
And, this might be a viable option…
But what if you need to detect the part at multiple stages of the process?
One solution could be to teach both the unfinished and finished parts as different objects. But, this will mean adding unnecessary programming. It will mean training the robot with two different sets of approach, pick, and place actions (one for each object) even though you only really need one set.
You want a more robust, efficient way to train the algorithm.
Making the robot vision training model more robust
Last year, our integration engineers had identified this common problem. They came up with an ingenious trick that somewhat solved the problem. We talked about it in our article An Unusual Trick That Improves Robot Vision Teaching.
Their trick involved using a print-out of the part's CAD model to train the template matching algorithm. This meant that the only thing that influenced the training was the clear outline of the part that was shown in the drawing.
Problems like lighting, contrast, and distortion were eliminated immediately.
Although the trick worked well, it wasn't ideal. In fact, it was a "kludge" (an inefficient, inelegant workaround). As engineers, we're always coming up with kludges to get our applications working in a quick-and-dirty manner.
The trick was effective, but it wasn't easy to use. You had to clean up your CAD model, find the right type and color of paper, calibrate your printer to ensure it was printed at the right size, and more before you could train the robot.
There had to be a more elegant solution!
And there was.
How to teach a robust robot vision model quickly with a CAD model
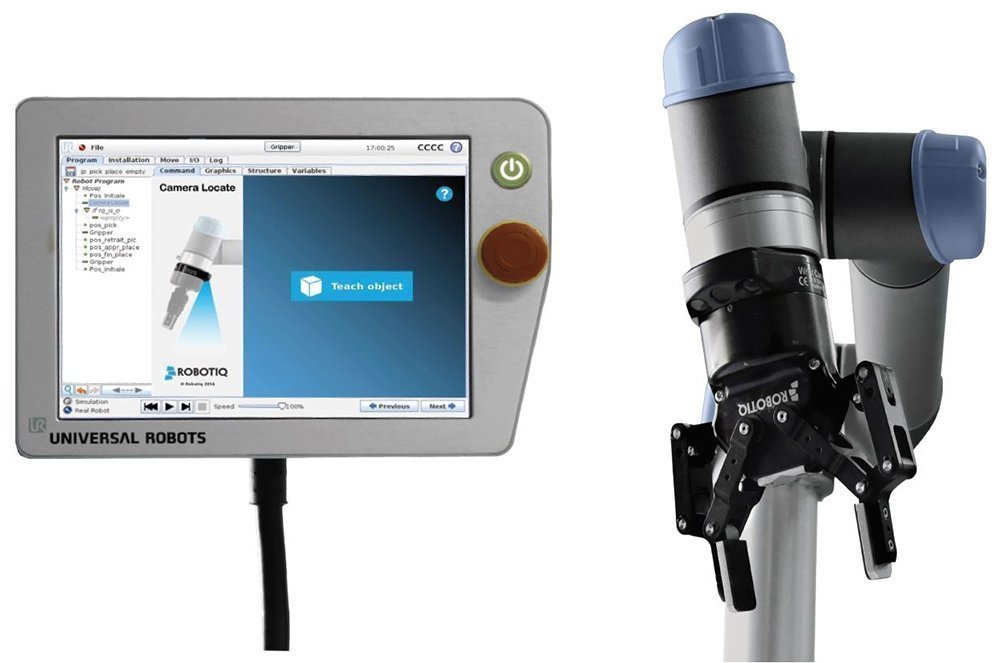
In the latest update of the URCap for our Wrist Camera, we've introduced a whole new way of training your robot vision.
This new method gives you all of the benefits of our integration engineer's trick in a quick, easy, and elegant manner. It also has some added benefits, which I'll outline in a moment.
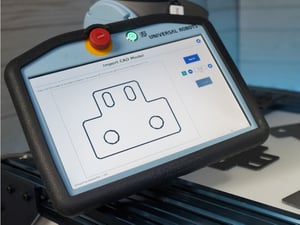
It is now possible to train your object template simply by importing a 2D CAD model directly into the robot program.
You just export the view of the part that you want the robot to detect…
Load it into the robot controller…
Set the part height…
And you're done!
This new method even has some added benefits over the usual method of part detection including:
-
The detection is much more robust to changes in lighting.
-
It can be used to train objects that have edges that are otherwise too tricky to teach.
-
It can handle shiny surfaces that sometimes produce false edges.
If you're using surface finishing with robot vision, it's well worth checking out this latest update. It's one of those changes that may look small on the surface but can have a significant impact on your programming efficiency.
What problems have you run into with robot vision and/or surface finishing? Tell us in the comments below or join the discussion on LinkedIn, Twitter, Facebook, or the DoF professional robotics community.


Leave a comment