
In the blog post related to the first part of this series, we talk about robot fixtures, part input and part output. These tips should have helped you figured out the general configuration of the collaborative robot for your workshop. However, if you really want to optimize your process, you need to probe a little deeper into the design of your cell. In fact, there are details that should be considered to get the most out of your robot integration. Let's look at them.
Robot Positioning
Here, I am not talking about the orientation of the robot, but how you should position your robot in your shop so that it can be its most efficient. In my opinion you have two main guidelines that should be considered.
1. Safety
 In the case of a machine tending application, you don't have a lot of positioning options. Most robots will have to be placed in front of the machine door. However, the section in front of the machine can be in a busy corridor of the shop or can intersect another working space. Even if the robot is considered collaborative, you still need to make sure that all your personnel know what the robot is capable of doing, or not doing, in order to make its usage really safe.
In other words, don't place the robot in the middle of everyone. People often think that a collaborative robot is safe no matter what it is doing, but the truth is that every aspect of the collaborative cell has to be considered to make the robot safe. In other words, place the robot in an area that is designed for its application with the required safety features and components.
2. Performance
To enhance your production rate or to accelerate your ROI (which are both related), you want to use the lowest amount of robot for the highest amount of machine. For example some companies will place an industrial robot on a rail to move the robot from one machine to another in order to cover a greater area with a single robot. In the case of a collaborative robot, the applications tend to remain small and simple, so no railing here. But you can place a robot between two CNC machines and synchronize their programs so the robot can load one machine after the other. By doing so, you theoretically keep the same production rate but with a lower cost since the robot is at a fixed price. So you are running the robot continuously and the machines are also continuously fed.
Machine to Robot Interface
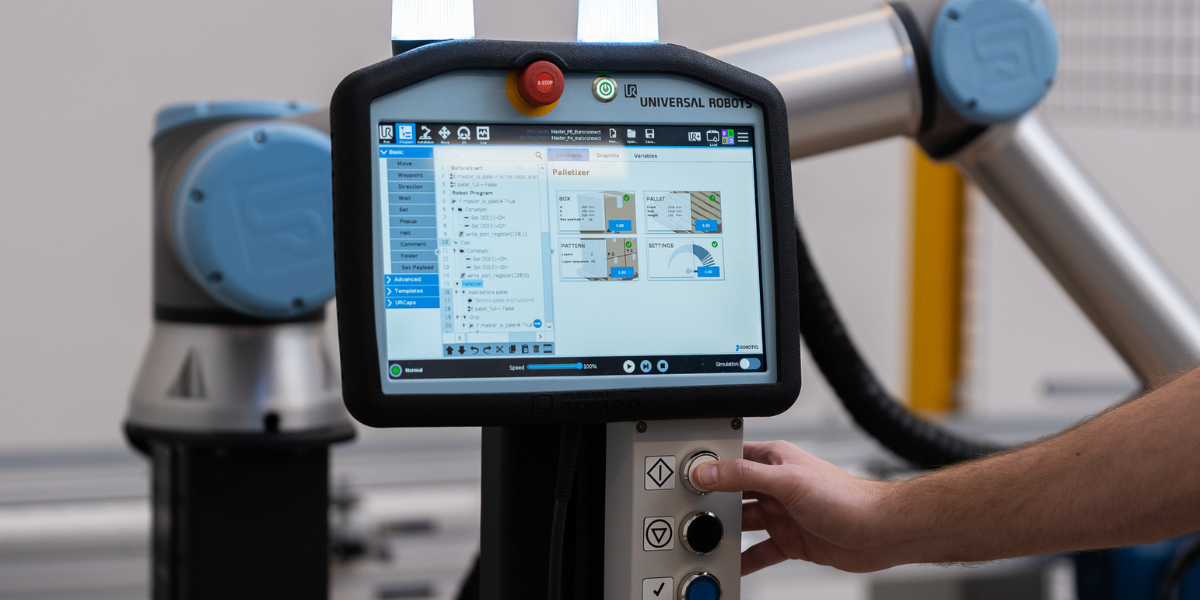
In applications such as machine tending, the robot and CNC machine must communicate to know each other’s status. There are various ways to physically connect the robot to the CNC machine. To avoid confusion, I will not go into the details about these types of connections. However, there are six overarching principles that should be considered in the interface between the two devices. These six principles can be translated into signals or input/outputs. Here is a short list of these signals.

- Robot output / CNC input: Robot grasps the part and asks the chuck to open.
- Robot input / CNC output: CNC tells the robot that the chuck is opened. At this moment the robot can load the machine.
- Robot output / CNC input: Once in position the robot tells the machine that the part is in place and that the chuck can be closed.
- Robot input / CNC output: The machine tells the robot that the part is grasped. The robot can then get out of the machine.
- Robot output / CNC input: Robot tells the CNC machine that it is out of the way, the CNC can start the machining program.
- Robot input / CNC output: Part machined, robot can come grab the part.
Notice that there might be other signals that can be introduced into the program. To reduce the complexity of the explanation, we have only mentioned these general steps. However, you might have a signal that will close the CNC door or if the part has to be flipped to do this and these signals will be added to the signals we have just detailed.
You should also notice that other signals can be exchanged between the robot and the machine when operating on different applications like packaging for example or when incorporating a vision system. Make sure to understand your process and what is involved in it.
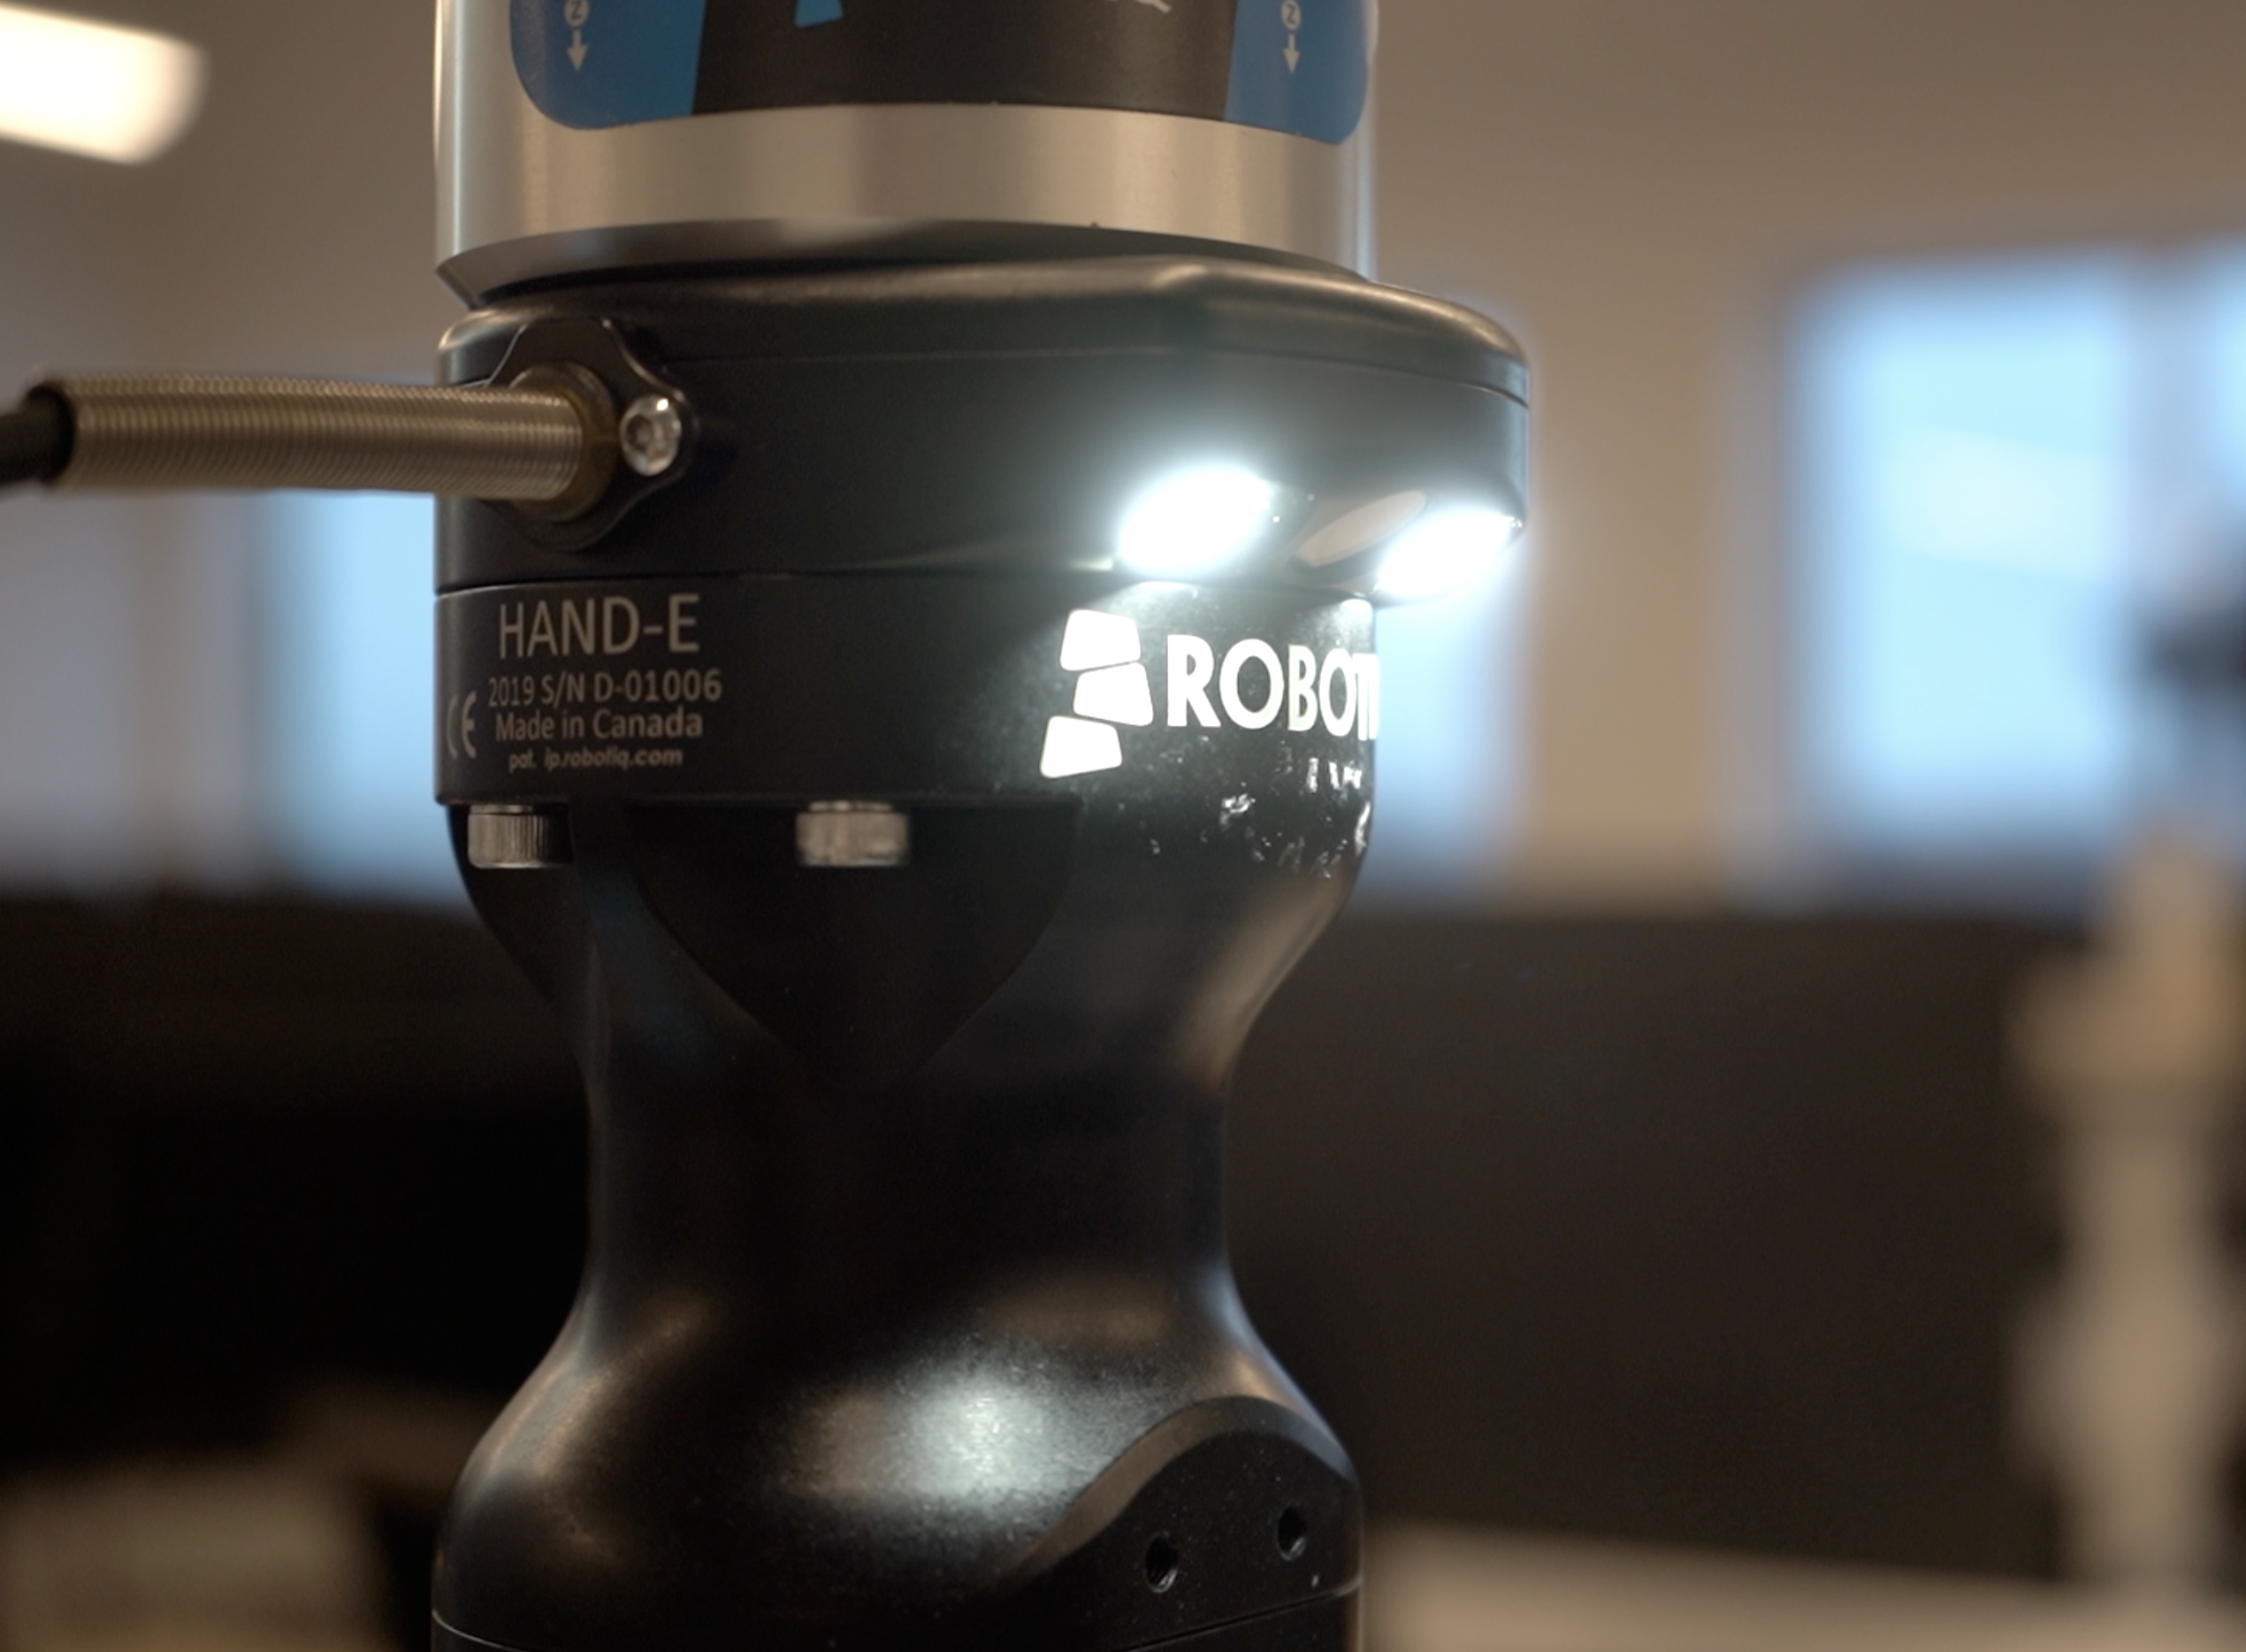
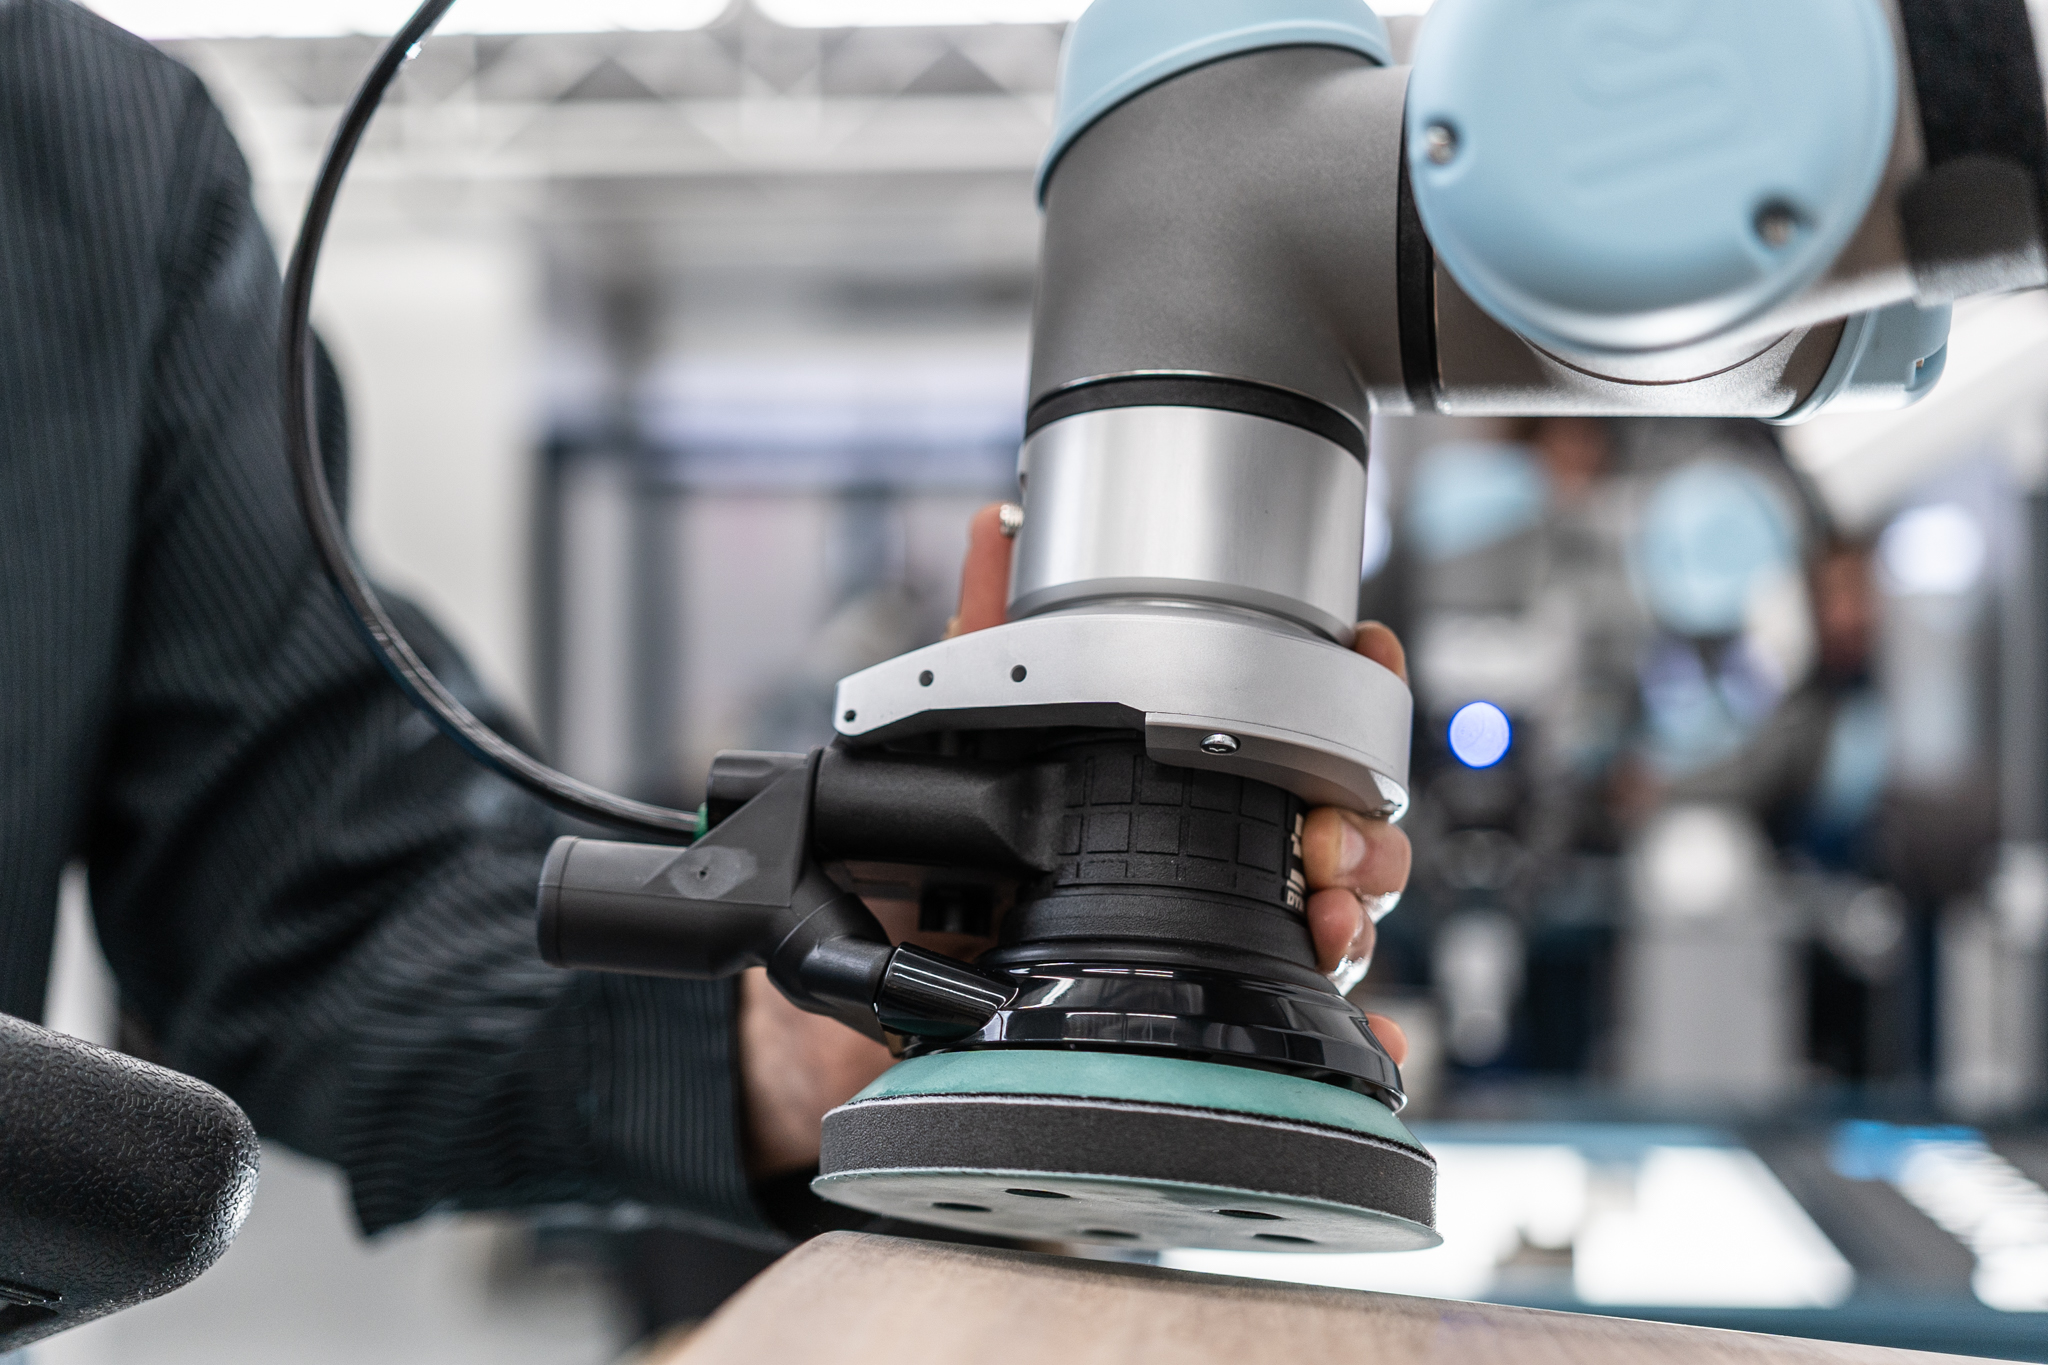
Robot Tools
This part is sometimes underestimated since it is not an inherent part of the robot. However, it is a critical part of the cell. Without any EOATs (end of arm tooling) there is no way your application can be accomplish. Of course the different specifications for the gripper should match your application. The adaptability of the gripper should be considered if a wide range of parts will be grasped by the robot. However, when it's time to think about integration you want to go a step further. A couple of question should be asked.

- If you are using a pneumatic gripper, is there any compressed air near the robot?
- If you are using an electric gripper, how can you connect the gripper to the rest of the robotic cell?
- Does the gripper enter/fit into the initial and final ordering system?
- Will the gripper fit in the CNC machine?
- Is the gripper resistant to cutting fluids?
- Does the gripper fit on your robot? (mechanical interface and payload)
Well, you still have a bunch of questions that should be considered when integrating your gripper into your cell. In fact, even if a gripper has awesome specs, this doesn’t mean it can work well in any environment.
Well, hopefully these tips have given you a better idea of what should be looked at when integrating a collaborative robot into a workshop. These might seems like small details, but they can be real time savers when it's time to integrate your robot. To have further information on the different types of collaborative robots out there, take a look at the comparison grid we have put together. This document contains most of the cobots that are on the market today and we try to keep it up to date as more cobots enter the fray, so check back regularly.


Leave a comment