How to Handle Protective and Emergency Stops with Robotiq Grippers

Posted on Dec 01, 2015 in Robot Grippers
4 min read time
Grippers used in collaborative applications (or any other application really) have to be safe. Since you don't want a gripper to continue working while your robot is stopped or worst of you don’t want your gripper to release/open when an emergency stop is activated. There are a couple of tricks which will help improve the safety of your robotic cell.
In normal robotic use, there are two kinds of stops: a Protective Stop and an Emergency Stop. The result of each stop is the same, the robot is not moving! But down the line, there are major differences between the stops and the way your gripper will react in each situation is important. Notice that these explanation are valid for all Robotiq Grippers.
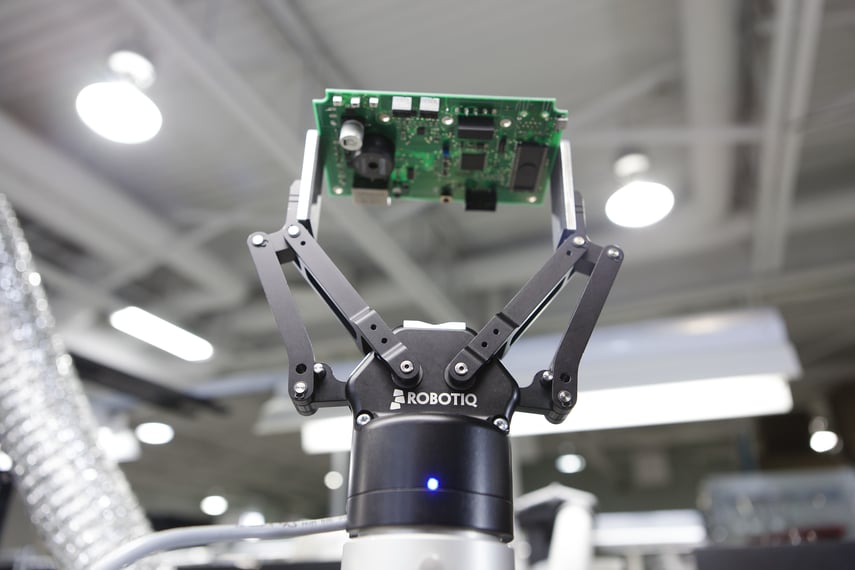
1. Protective stop
Protective stops happen when the robot is used in a collaborative application, especially in the case of speed and separation monitoring or safety-rated monitored stops. These situations mean that the robot’s motion is stopped, but there is still current going through the robot motors. This situation can arise during normal production.
How should the Gripper function during these situations?
You must link the robot’s protective stop to the robot program controlling the Gripper. When the protective stop is detected, convert the rGTO bit controlling the motion of the Gripper to 0, this will stop the Gripper’s motion. For example, a Universal Robots’ protective stop can turn on an I/O when its protective mode is enabled. Insert a loop in your robot program watching this IO: if the IO goes high, the rGTO bit goes low and the Gripper stops its motion in a safe way. When the protective mode is turned off, the IO goes low, and you set the rGTO bit back to high, so that the Gripper resumes its motion at the same speed, force and position that was targeted before the stop.

Benefits of rGTO :
- Safe and quick motion stop, no parts dropped
- Gripper will not need to reactivate
- Gripper control can be quickly recovered with rGTO going back to 1
If you set rACT (activation) to 0, you will lose control of the Gripper. In this case you will need to reactivate to return the control of the Gripper. This can cause a part to be dropped.
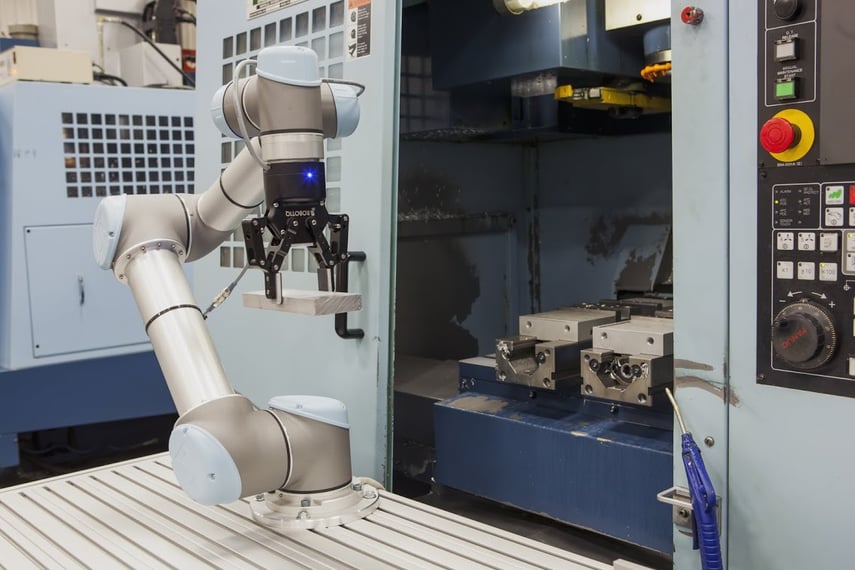
2. Emergency stop
This happens only in emergency situations! At this moment, brakes are activated in the robot axis. You then need to reset or ''zero'' the robot to make it move again. This operation is a potentially dangerous situation. Let's say the current is lost, you don't want the gripper to open and let the part go while the robot is stopping... this can be fatal, by causing the robot arm and gripper to throw the object it was grasping.
How can we manage an Emergency stop with the Gripper?
The Gripper power should be linked to the emergency stop and the Gripper should shut down if the emergency stop is triggered. During an Emergency stop the Gripper fingers will stay closed on the part and will secure the part. In fact, because of the self-locking feature of the Gripper, parts can be held in the Gripper without any current going to the Gripper.
After a power loss, the Gripper is 'blind' due to its relative encoder technology; it needs to reactivate before going back into production. Before resuming operation, you can set rATR (auto-release) to move the Gripper in a safe way without activating it. rADR (auto-release directive) will set the Gripper, 0 to close, 1 to open. Use the rATR feature to drop your part in a safe zone, then resume operation by using rACT to activate and continue your robot program.
Benefits of rATR :
- Can be used without activation (rACT)
- Incorporates self-locking feature
- Allows for the safe dropping of a part
Conclusion
rGTO is meant to turn motion on/off during production. rATR and rACT are used after a power loss, usually in an emergency situation. If you have questions that were not answered with this post, please visit our support section, we have more helpful information available there. Notice that Robotiq's Universal Robots packages contain pre-programmed functions for these operations.




.jpg)

Leave a comment