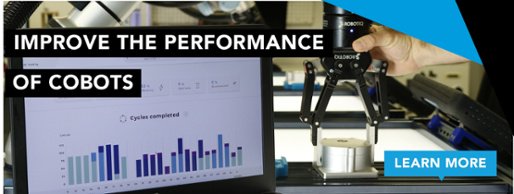

Collaborative robots are a perfect solution for palletizing. You can seriously improve cell performance by using layout design best practices.
Palletizing is often the last processing step before your products are shipped to the customer. So many products pass through the palletizing process that it can dramatically affect the throughput of your entire manufacturing process.
The layout of your robotic palletizing cell can have a huge influence on that throughput. Even tiny changes in layout can translate to significant time savings in the long term.
Let's take a look at the best practices for designing an effective layout for a palletizing cell.
Why cell layout is so important for palletizing
Palletizing is a task which involves a lot of back-and-forward movement. Your collaborative robot will continually be traveling from the pick-up location to the drop-off location and back again. As a result, every single movement that the robot makes should be as closely-optimized as possible. Small changes in motion time can lead to huge changes in overall cycle time.
This makes palletizing different from tasks like cobot machine tending where the motion time can be almost insignificant compared to the long processing time of the tended machine. In palletizing, the motion time makes up the vast majority of the task.
You can see an example of the effect of motion time for a palletizing task in this article, which shows how you can achieve an improvement of 27% just by adding one extra gripper. If you were to use a different type of gripper (as described below) this improvement would be even more impressive.
Your cell layout has a significant effect on this optimization. As we discussed in the article Six Essential Properties of an Efficient Cell Layout, a good layout can reduce the robot's motion time, improve the use of space, and ensure optimal use of the robot.
Decide your pallet layouts
There are many ways to stack a pallet. In fact, pallet layout optimization is an entire research field in itself.
Before you can design your robot cell, you will want to choose your pallet layouts. You will likely have multiple different layouts. One cobot user on our DoF forum designed an application which required 50 different pallet layouts, and another user had previously used over 200 different layouts!
Although you don't know all the different pallet layouts you will need in the future, it can be helpful to start by planning your pallet layouts. This gives you a rough idea of the space requirements for the pallet within the cell.
There are some software tools which can help you to design pallet layouts. The most comprehensive is probably the freeware program StackBuilder (which requires installation and has a bit of a learning curve but is very powerful), but there are also simpler online tools from CSI and OnPallet.
Pick the right end effector and accessories
You can certainly achieve palletizing with just a single collaborative robot and a gripper. However, you can make your life much easier by selecting the correct end effector and (if necessary) accessories.
The best end effector for palletizing
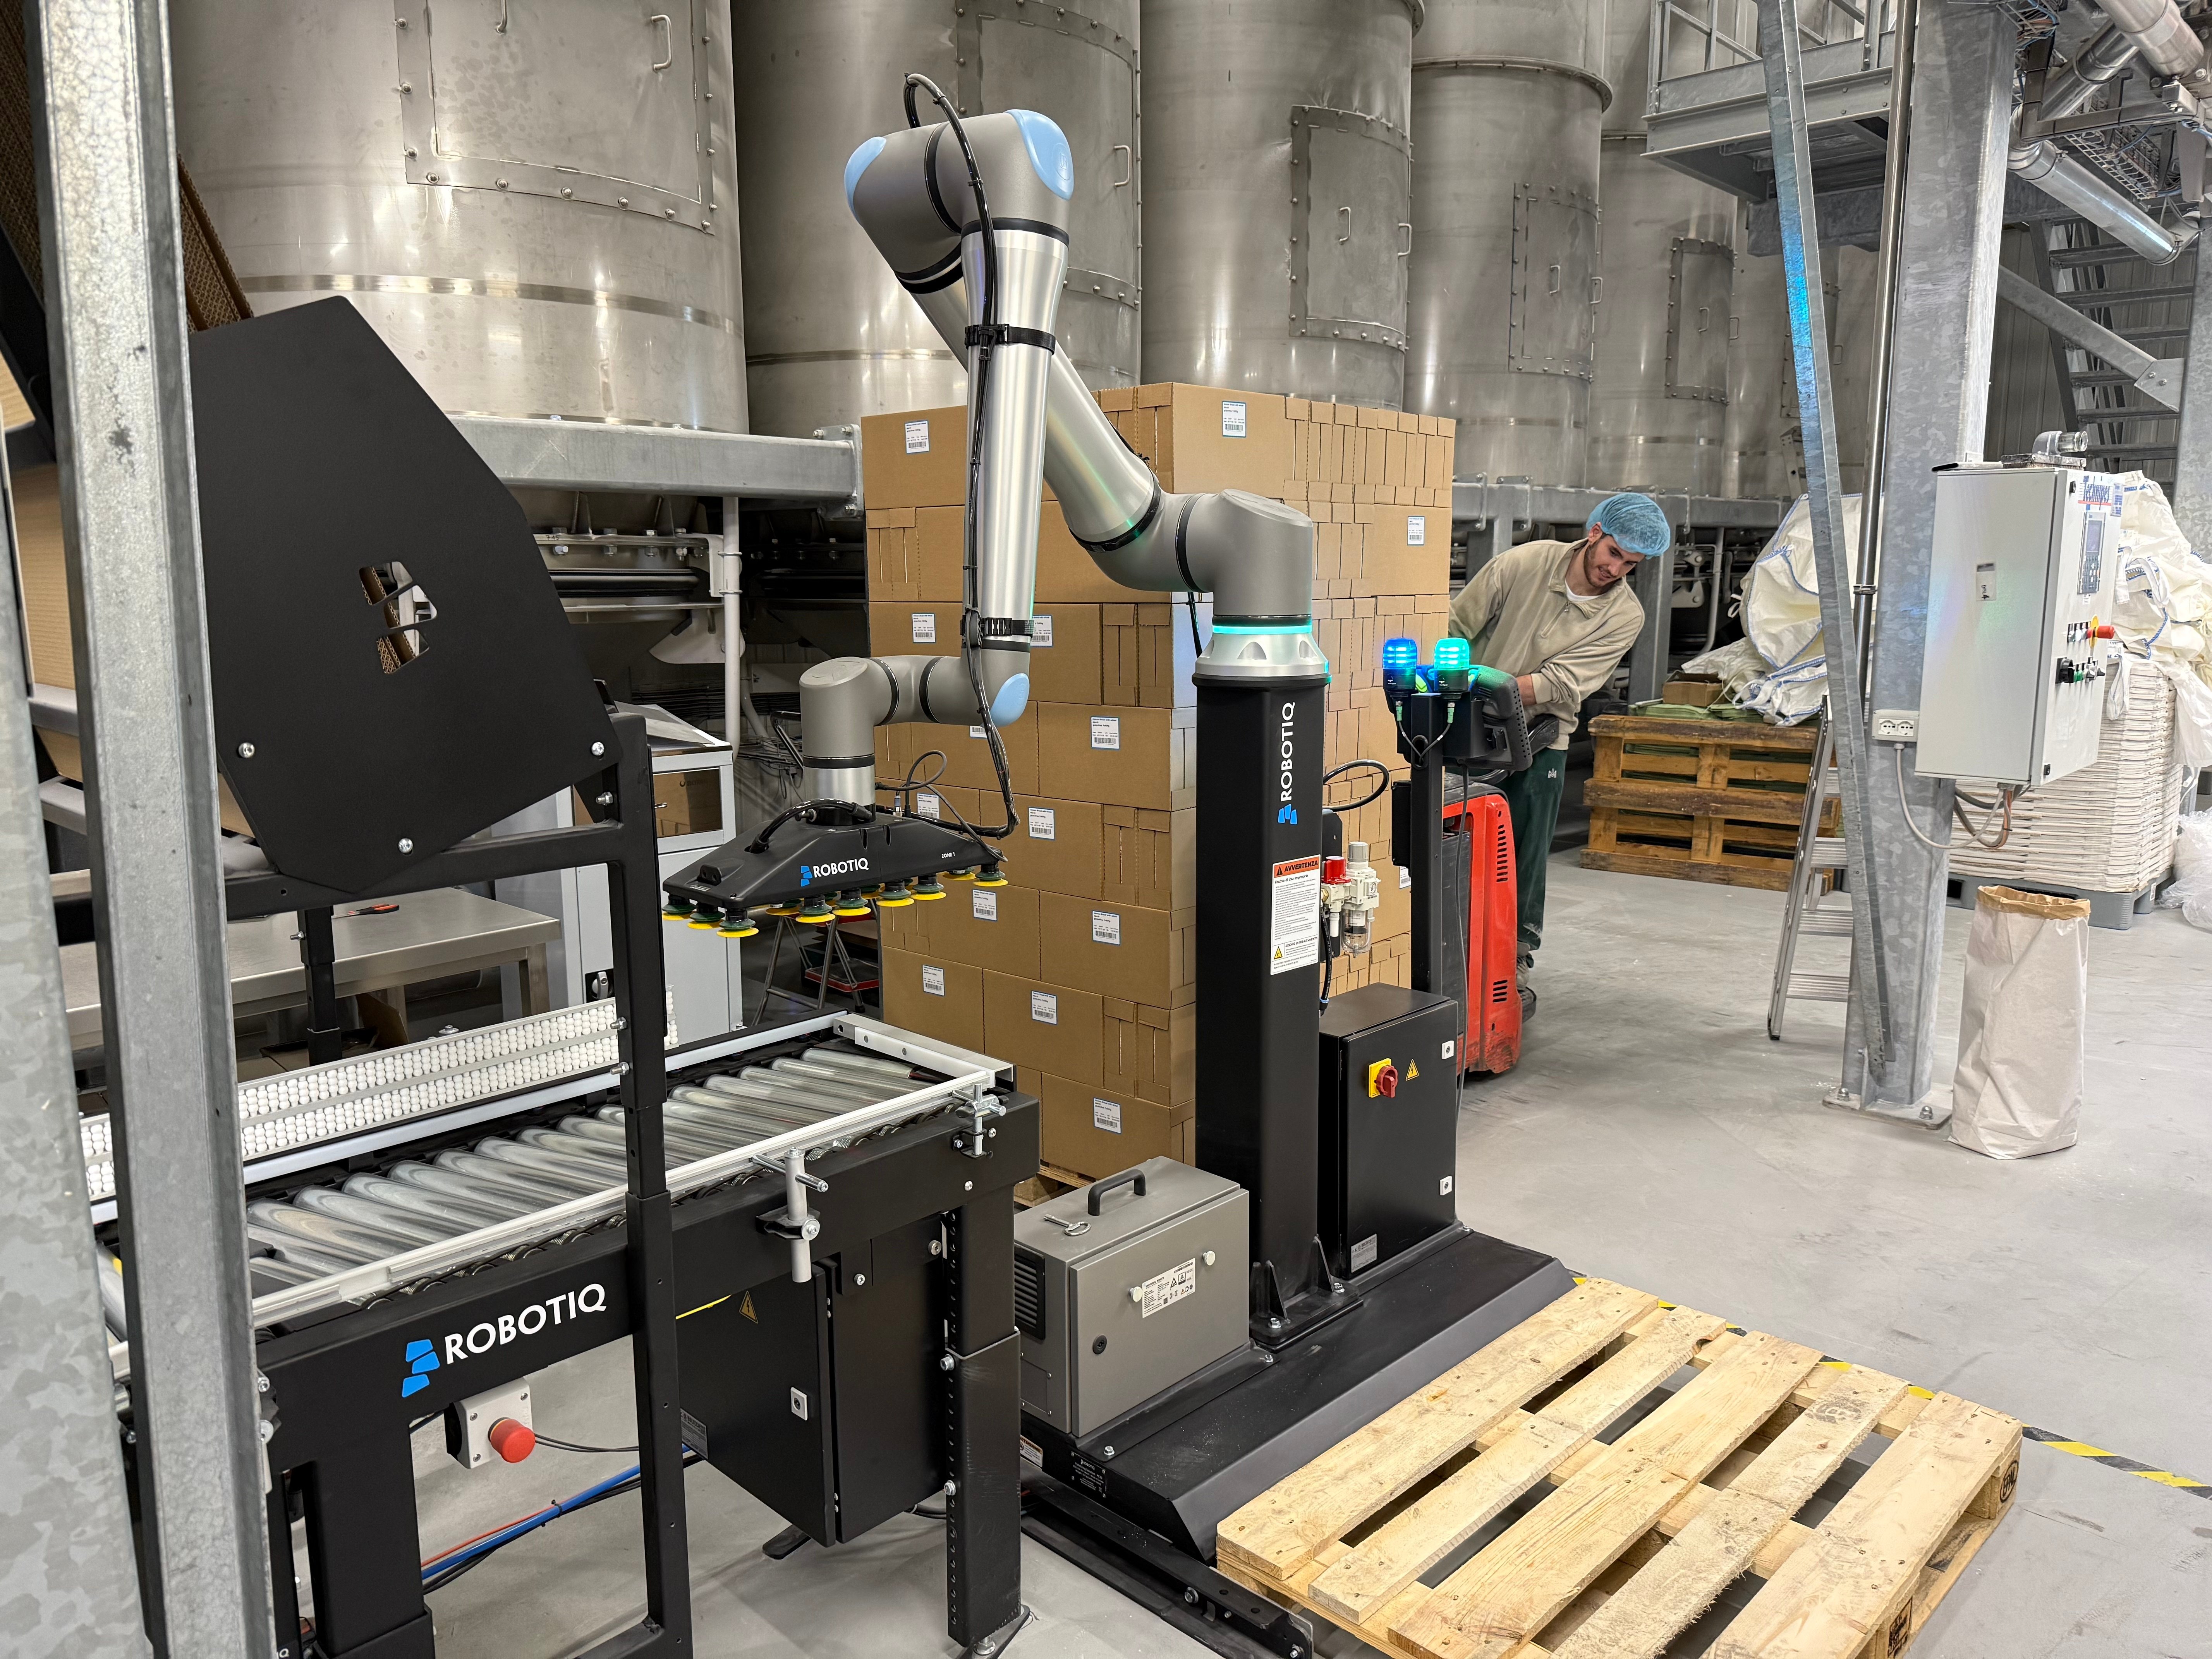
The end effector that you choose for your collaborative robot can make a big difference to the productivity of the robot cell. The most popular end effector for palletizing is almost certainly the vacuum gripper (as we discussed in the article Why Vacuum Grippers Are Really the Best Option for Robot Palletizing).
Vacuum grippers are so good for palletizing because they can be easily configured to pick up multiple objects at once with a custom suction cup layout. The EPick and AirPick grippers, for example, can be configured with up to four AirNodes, allowing them to hold four objects simultaneously. This translates to a more productive palletizing cell.
Accessories for palletizing
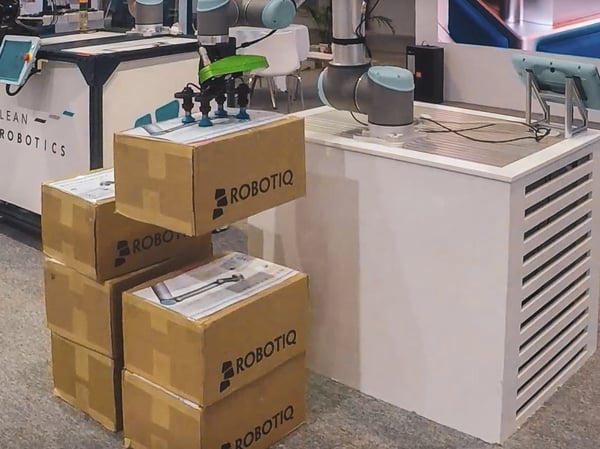
Robotic palletizing sometimes needs more automation technology than just the robot alone. For example, conveyor belts are a common solution to transport products into the cell and move pallets or boxes out of the cell.
Adding extra, actuated Degrees of Freedom to the robot can also increase the amount you can pack on a single pallet by increasing the "loading height." We recently incorporated a Vention axis into our palletizing task, which you can see in their blog article about the application.
Plan the robot cell layout
At the same time as you are deciding on your robot model, end effector, and pallet designs, you can start designing the layout of the cell. This is an iterative process — as your layout design progresses, you will gain more information about the needs of the robotic technology.
The 4 steps for designing a cobot cell are:
- Analyze and define the manual task map
- Begin the robotic task map
- Define the high-level task map
- Design the cell layout (and update the task map)
You can read about all of these in more detail in our previous article The Right Way to Design a Cobot Cell Layout.
Usually, you can reach a pretty optimal layout design just by following this process. However, if you want to learn how to optimize your cells even further, there is quite a body of research into cell layout optimization. This research from 2017, for example, introduces parameters and an algorithm for palletizing cell optimization.
Optimize and improve
Once you have designed your cobot cell and you have successfully integrated it into your process… what next?
This is only the beginning. You will get the most out of cobots when you look on them as "a process of continual improvement." This is is the basis of the Kaizen approach, one of the main pillars of our Lean Robotics Framework.
You and your team should always be looking out for ways that you can improve the palletizing cell. For example, if a team member notices that the robot is making an unnecessarily long movement during one part of the palletizing task, they should be encouraged to report this to the relevant people and the changes should be made to the cell layout and/or cobot programming.
With this mindset of continual improvement, your palletizing layout can become incrementally more optimized as time goes on.
Create and design your own layout with the palletizing solution.

How could cobot palletizing affect your business? Tell us in the comments below or join the discussion on LinkedIn, Twitter, Facebook or the DoF professional robotics community.


Leave a comment