The Right Way to Design a Cobot Cell Layout

Posted on Apr 18, 2018 in Collaborative Robots
5 min read time
Designing a robotic cell layout can sometimes seem like a "dark art," but it doesn't have to be. Follow these four steps and you'll master the art in no time.
Cell layout is crucial aspect of a successful robotic cell. Get it wrong and you could seriously reduce the productivity gains that a collaborative robot (or "cobot') can bring. Get it right and you can increase your robot's productivity even further.
But what's the best way to lay out a cobot cell?
Should you just clamp the robot onto any old table, pile up a load of products, and press go?
Well… no.
It's a good idea to take the time to properly design the cell layout, using best practices from the Lean Robotics framework.
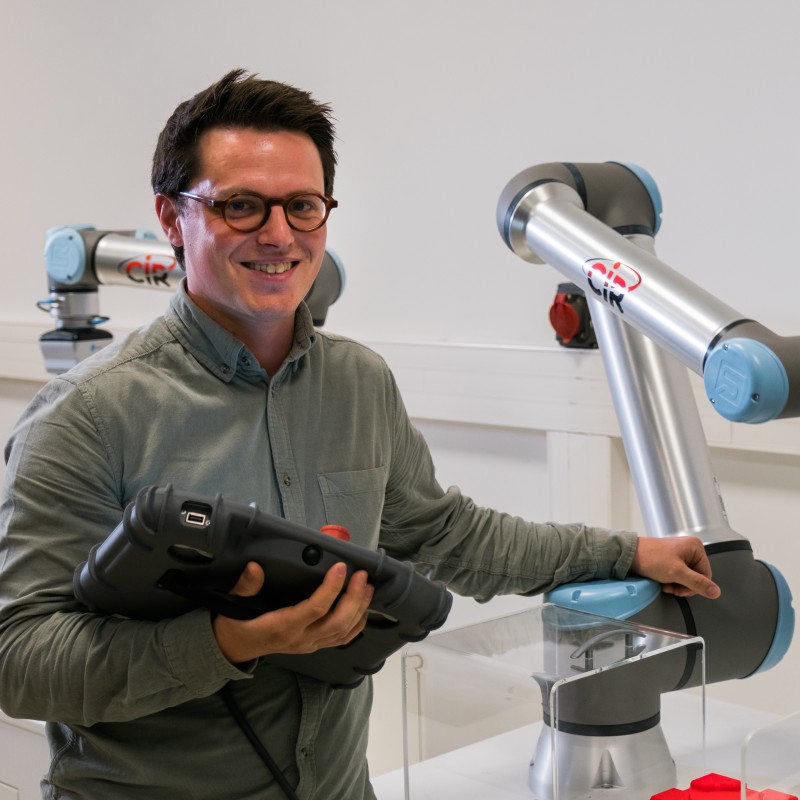
-1.png?width=900&height=506&name=Schnitt_v3.00_00_50_00.Standbild002%20(3)-1.png) A well-laid-out cell is like the kitchen of a professional chef.
A well-laid-out cell is like the kitchen of a professional chef.
Why cell layout seems like a "dark art"
It's often hard to find much information on good cobot cell layouts. There's a simple reason why: since every cell is different, there are few hard and fast rules that will apply to all of them.
Experienced robot integrators have spent years designing cells. They develop an intuitive understanding of what makes an effective layout. To the rest of us, this makes cell layout design seem confusing and mysterious – like a "dark art."
But it doesn't have to be this way. Cell layout can be quite straightforward when you approach it the right way.
I like to think of the cell layout like a kitchen.
A well-laid-out cell is like the kitchen of a professional chef. On the surface, it might look like any other kitchen. However, a chef will ensure that their utensils, ingredients and work spaces are all located in the optimal place for the chef to do their work.
The chef can move quickly and easily around the space. They're able to locate everything they need within moments. As a result, they can produce a professional meal in minutes.
A poorly laid-out cell is like my kitchen at home. On the surface, it's a nice enough kitchen that looks tidy and organized. However, the utensils, ingredients, and work spaces are not well-optimized.
I have to continually move back and forth around the kitchen, rummaging through drawers for utensils and searching for missing items. As a result, I can produce a decent meal… but it takes ages!
If I want to improve the layout of my kitchen, I should start thinking like a professional chef.
Similarly, if you want to design a better cobot cell, you should start thinking like a collaborative robot.
Ask yourself: where should all the tools, workpieces, and work spaces be placed so the cobot can work most efficiently?
How to design a cobot cell in four steps
There are four steps to designing a cell layout – the first three of which should be done before you even think about the physical layout.
(These three steps take place during the Design phase of any cobot project, and are explained in detail in the Lean Robotics book.)
The four cell layout design steps are:
1. Analyze and define the manual task map
Most collaborative robot applications start off as a manual operation. The idea here is to use your manual task as a starting point for the robotic cell.
You should begin by analyzing how human workers are currently performing the task. The Lean Robotics framework defines this process in seven steps:
- Identify the cell's "customer"—Start your analysis at the end. The cell's customer is considered to be the next cell along in your process.
- Define the valuable output—What input does the customer cell need? This is your cell's output.
- Define the input—What input does your cell need from the previous cells in the process?
- Describe the manual process—Here, you should list all the steps that the human operators perform. This list describes the tasks that you'll be trying to accomplish later with the robot.
- Document the flow of information—How does information get passed to and from the cell? How will this flow of information be affected by the introduction of a robot?
- Measure cell KPIs—Set goals for the cell and determine how to measure them.
- Summarize the manual task map—Gather all the information you've found in a visual map.
This process, which is described in detail in the Lean Robotics book, gives you a lot of information you can use to build your robotic cell.
2. Begin the robotic task map
Next, you want to "translate" your manual task so it can be performed by a robot. To do so, you'll create a robotic task map. Like the manual map, there are seven steps to creating the robotic task map.
You might think that you can't define the task map without first designing the layout… and you're right. However, the problem is you also can't design the layout until you've first defined the task map!
This leaves us in a bit of a deadlock.
The solution is to develop the two in tandem. Start by defining your high-level task map. Then, form the detailed task map as you begin to design the layout.
3. Define the high-level task map
The high-level task map defines the physical components you will need. These include the robot itself, tooling, safety measures, sensors, and software.
Define these high-level components before you begin to draw up the physical blueprint of the cell.
4. Design the layout (and update the task map)
At last, you're ready to design the layout.
I recommend starting by physically walking yourself through the task, using your hand and arm in place of the robot. This step only takes a few minutes, but it can shave hours off your design time.
In fact, this is one of the great insights that came out of our 24 Hour Challenge at the Robotiq User Conference last year! The winning team found that walking through the task first saved them a lot of time and effort down the line.
Next, decide where the robot, objects, and work spaces need to be located so the robot can perform most efficiently.
Pay attention to the physical properties of the robot, especially its "reach" – this will determine how far away objects can be from the robot.
Once you've got a good idea of the cell layout in your mind, sketch it on paper.
Finally, revise your plan. Try to keep the distances that the robot has to travel to a minimum. This will lower the task's cycle time and increase the robot's productivity. You should also consider alternative cell layouts, just in case there's a way to make your cell better that you didn't think of before.
By following this straightforward process, you'll be well on your way to mastering the not-so-dark art of cobot cell layout.
Interested in trying it out? Download a task mapping template at leanrobotics.org.


Leave a comment