

Lighting is probably the most important part of robot vision. So why do people often leave it until the end? Setting up the right lighting configuration can make or break your computer vision application. We give you the lowdown on what makes a good setup.
In terms of lighting, computer vision is exactly the opposite of artistic photography. Both use digital cameras, which function in pretty much the same way, but the purpose of light is totally different. Artistic photographs use shadow and selective lighting to add mood and depth to an image. For computer vision, this type of lighting would make most algorithms useless. Robot vision images should be plain, clear and with sharp contrast in the object to be detected. Artistically, they're usually pretty boring.
You should start thinking about your lighting right from the beginning of a robot vision integration. If you leave it until the end, which people often do, you will make problems for yourself. In this article, we introduce some of the key things which affect robot vision lighting.
Too Bright - Too Dark: Reflections and Shadows
Any lighting problem you have with robot vision can ultimately be reduced to one of two things: reflections or shadows. Reflections are caused when the surface of an object is shiny so the light bounces off the surface and directly into the camera. Shadows are caused when part of the object is not illuminated at all, usually because another part of the object is absorbing the light. Both can be solved by correctly positioning the camera, object and light source.
Sound simple? Well, it should be. However, every vision setup has different requirements. There is no "perfect vision system" which works for all situations. You have to choose the right camera and lighting for your particular application.
Which Camera? Which Light?
There are loads of different cameras you can use for robot vision and there are even more options for lighting. Some cameras will work well with one type of light, but not with another. It can be a bit of a minefield!
The first thing to remember is not to trust your own eyes. As we talked about in a previous post, the human visual system is very different from computer vision technology. What you see is not what the robot sees.
Years ago, when I first used webcams for computer vision, I was surprised to discover that I could use them to "see in the dark." Like most digital cameras, webcams use CMOS sensors which can detect far into the infra-red (IR) range, which is invisible to our eyes. I found that you can use an IR LED (e.g. a television remote) to make a simple night-vision camera. What lesson did I learn? Always use the image from the camera when designing your lighting setup. The lighting might look perfect to you, but terrible to your robot.
You should pick a light source which matches the sensing range of your camera technology. You can find this out by looking at the spectral response of the camera against the spectrum curve of your lighting source. Check out this guide for a comparison of sensing and lighting technologies.
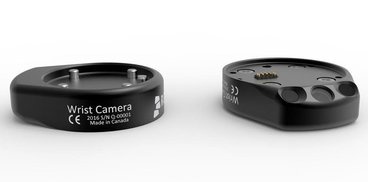
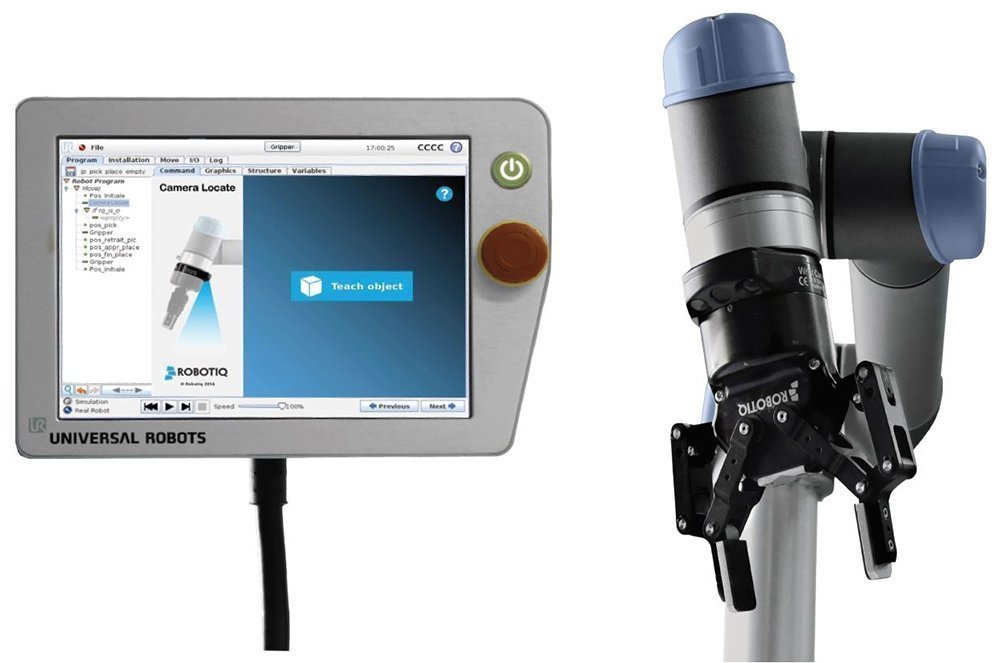
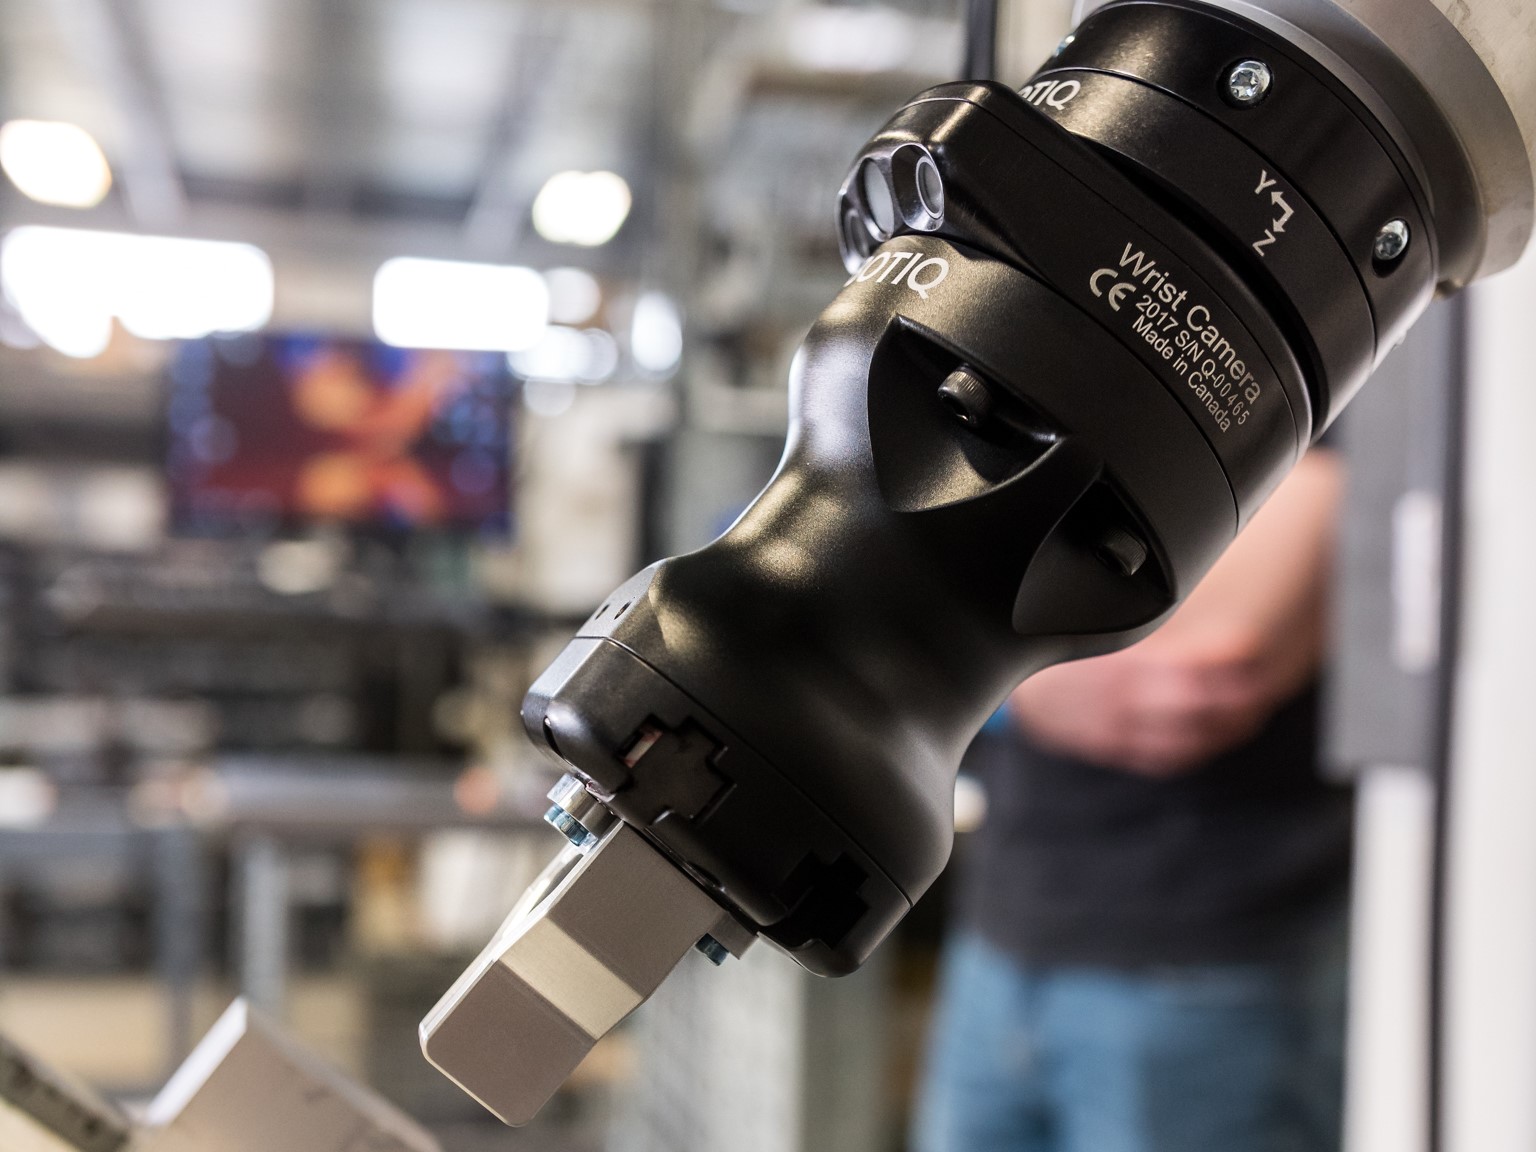
However, you don't always have to go to all this trouble. There are shortcuts for robot vision. You can use a vision system with integrated lighting. This way, you can be sure that the technologies are well matched. Our Robotiq Wrist Camera includes two LED lights, which means you don't have to worry about adding external illumination.
Ambient Lighting: Good for Mood, Bad for Robots
"Great!" I hear you say, "I'll just buy a robot camera with integrated lights and I can forget about lighting, right?" In most cases, yes you're right, but you might still have to consider the effect of ambient lighting.
Ambient lighting is the light that is already present in the environment. Fluorescent strip lights, sunlight streaming through a window or the spotlight caused by a nearby desk lamp. All have the potential to confuse your robot vision setup.
Collaborative robots will be more affected by ambient lighting than traditional industrial robots, because they work alongside humans. Traditionally, the robot was enclosed so the only light necessary in the environment was that used by the vision setup. In collaborative environments, interfering light sources could be anywhere.
There are a few ways to reduce the effect of ambient lighting. You could put a filter on the camera, so that you restrict the wavelengths which it detects. For example, a UV filter is a quick and easy way to filter out some interference from sunlight. However, a more robust way is to use strong flashing lights which are controlled by the vision software (this technique is known as "strobing"). This overpowers the ambient light. If you watch the video of our object teaching demo, you will see that this is the technique we use in the Robotiq Camera. 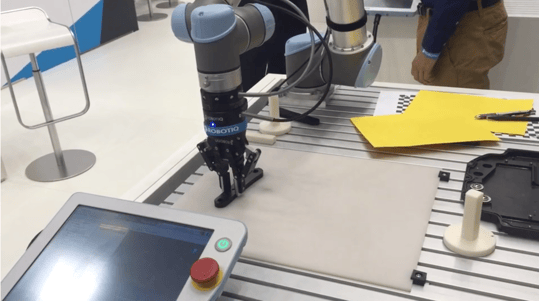
As some wise people once wrote: "It is easier to control the light sources in your environment than it is to write code to compensate for poor lighting."
The 4 Cornerstones of Vision Illumination
Once you've got the right technology and you have removed the effect of ambient lighting, what next? You should set the lighting to produce the best image for robot vision algorithms. This basically comes down to two things:
- Maximize the contrast within the object you are detecting.
- Minimize the contrast elsewhere in the image.
The National Instruments website contains a great guide called "Practical Guide to Machine Vision Lighting." In it, they define four cornerstones of vision illumination: geometry, pattern, wavelength and filters. I highly recommend you check out the guide, but here's a brief introduction to what each of these mean, and how you can use them to improve your vision setup:
1. Geometry
This is the 3D relationship between all elements of the robot vision setup:
- The object to be detected
- The light source
- The camera itself
You can't change one without influencing the others. So, if you can't get rid of unwanted shadows or reflections by moving the light source, try moving something else. Try to find the position of all three that maximizes the contrast in the object.
2. Pattern (or structure)
This refers to the shape of light projected onto the object. You can improve the image by changing the type of lighting setup that you use. There are various different options, including diffuse lighting, back lighting, directional lighting and more. There is quite a clear introduction here.
3. Wavelength
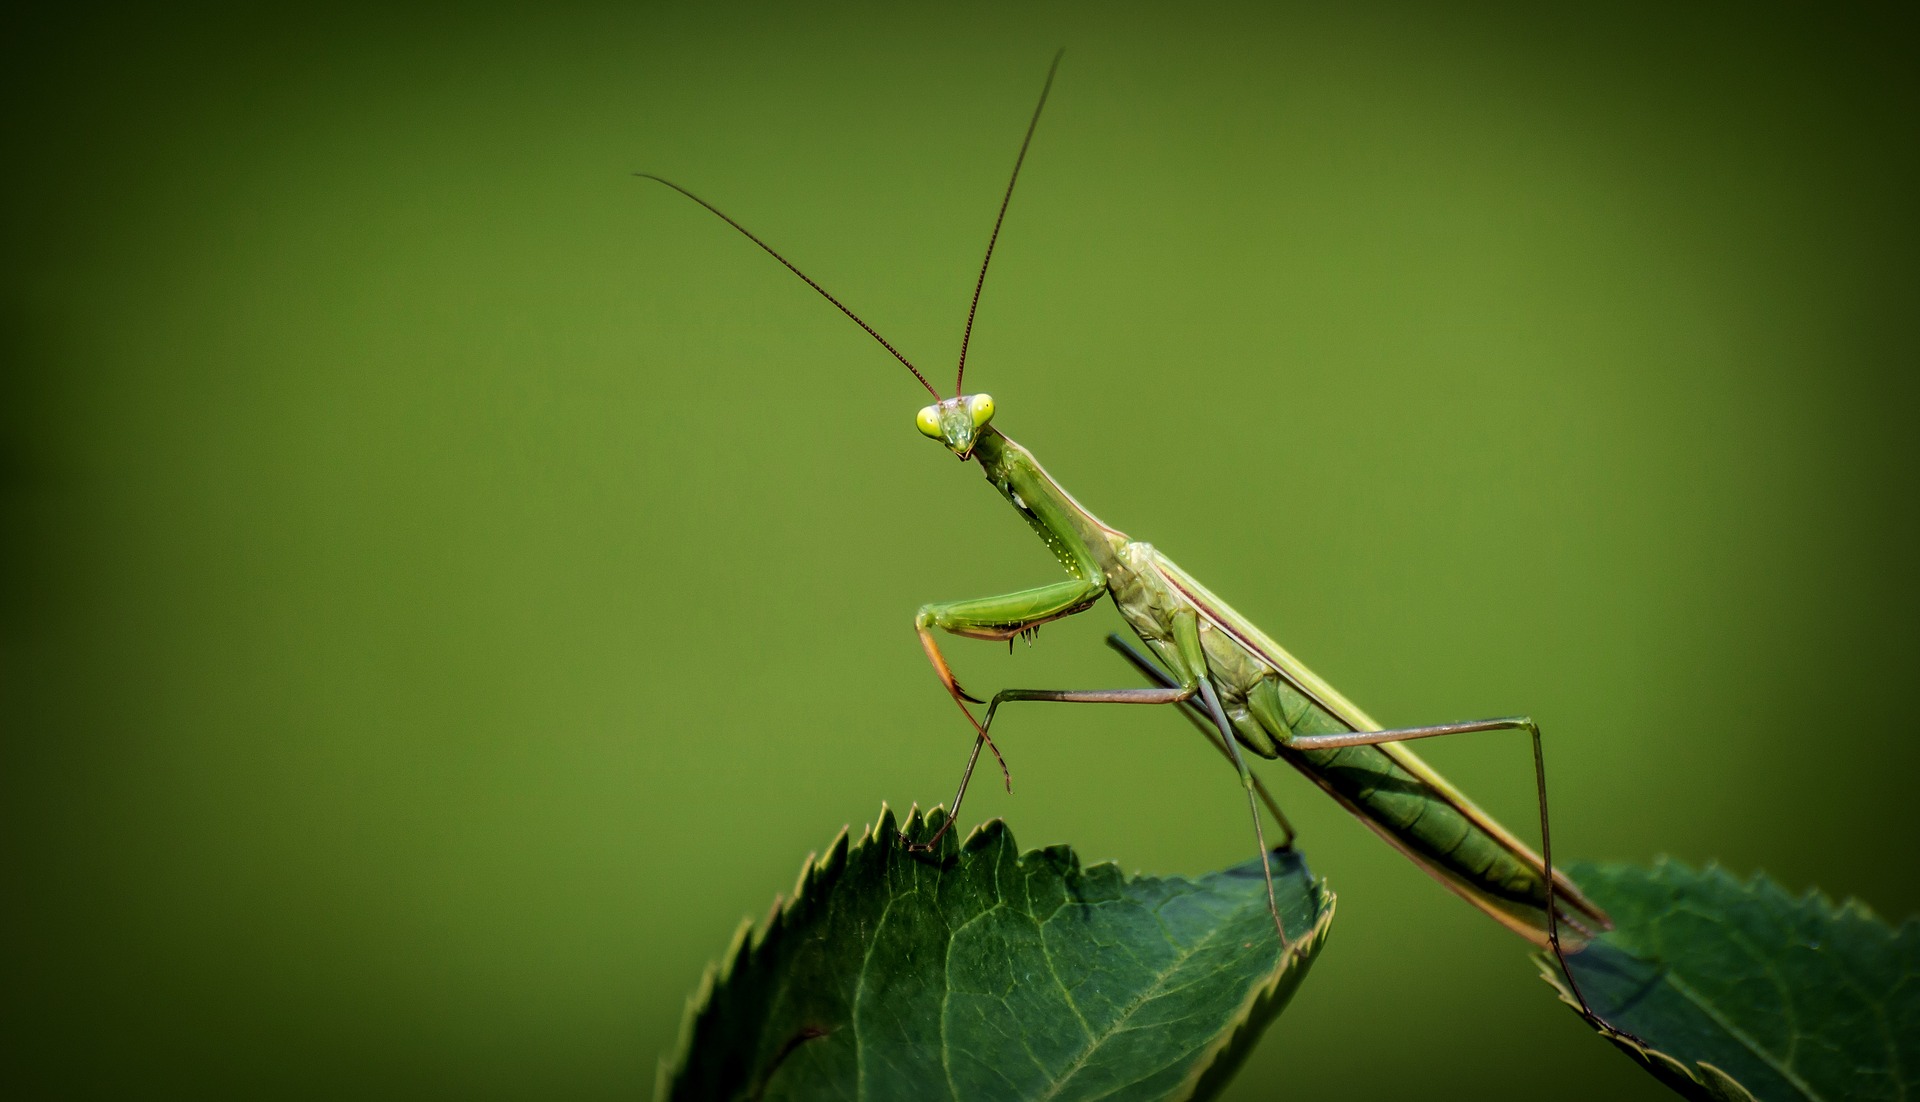
Every object absorbs light differently, which is how color is produced. A plant appears to be green to our eyes because the green wavelength light reflects off the leaves and into our eyes. All the other wavelengths (red, purple, blue, etc) are absorbed by the plant. This is important to remember when designing a vision lighting setup. By using contrasting colors in the object and background, we can improve the contrast, even in a black and white image.
4. Filters
Finally, filters allow you to remove some wavelengths from the image. This is useful if a particular wavelength of light is interfering with your image. Imagine, for example, that you were using a flashing red warning light in the robot work space to indicate that the robot is operational. If the flashing light was interfering with your vision algorithms, a red filter on the camera could be an effective way to remove this problem, assuming that red light is not necessary for the application.
How to Set Up a 2D Vision System
In this post, I've introduced some of the physical aspects that influence robot vision lighting. However, the camera settings also have a huge effect on the light that hits the sensor. You also have to balance exposure, shutter speed and depth of field and more!
Sound difficult? Don't worry, we've made it easy. You can read all about it in our post: How to Configure Your 2D Vision System Correctly
Are there any robot vision topics you'd like us to cover? What ambient lighting might interfere in your workplace? Have you considered implementing robot vision? Tell us in the comments below or join the discussion on LinkedIn, Twitter or Facebook.
Leave a comment