How to Configure Your 2D Vision System Correctly

Posted on Jul 14, 2016 in Vision Systems
3 min read time
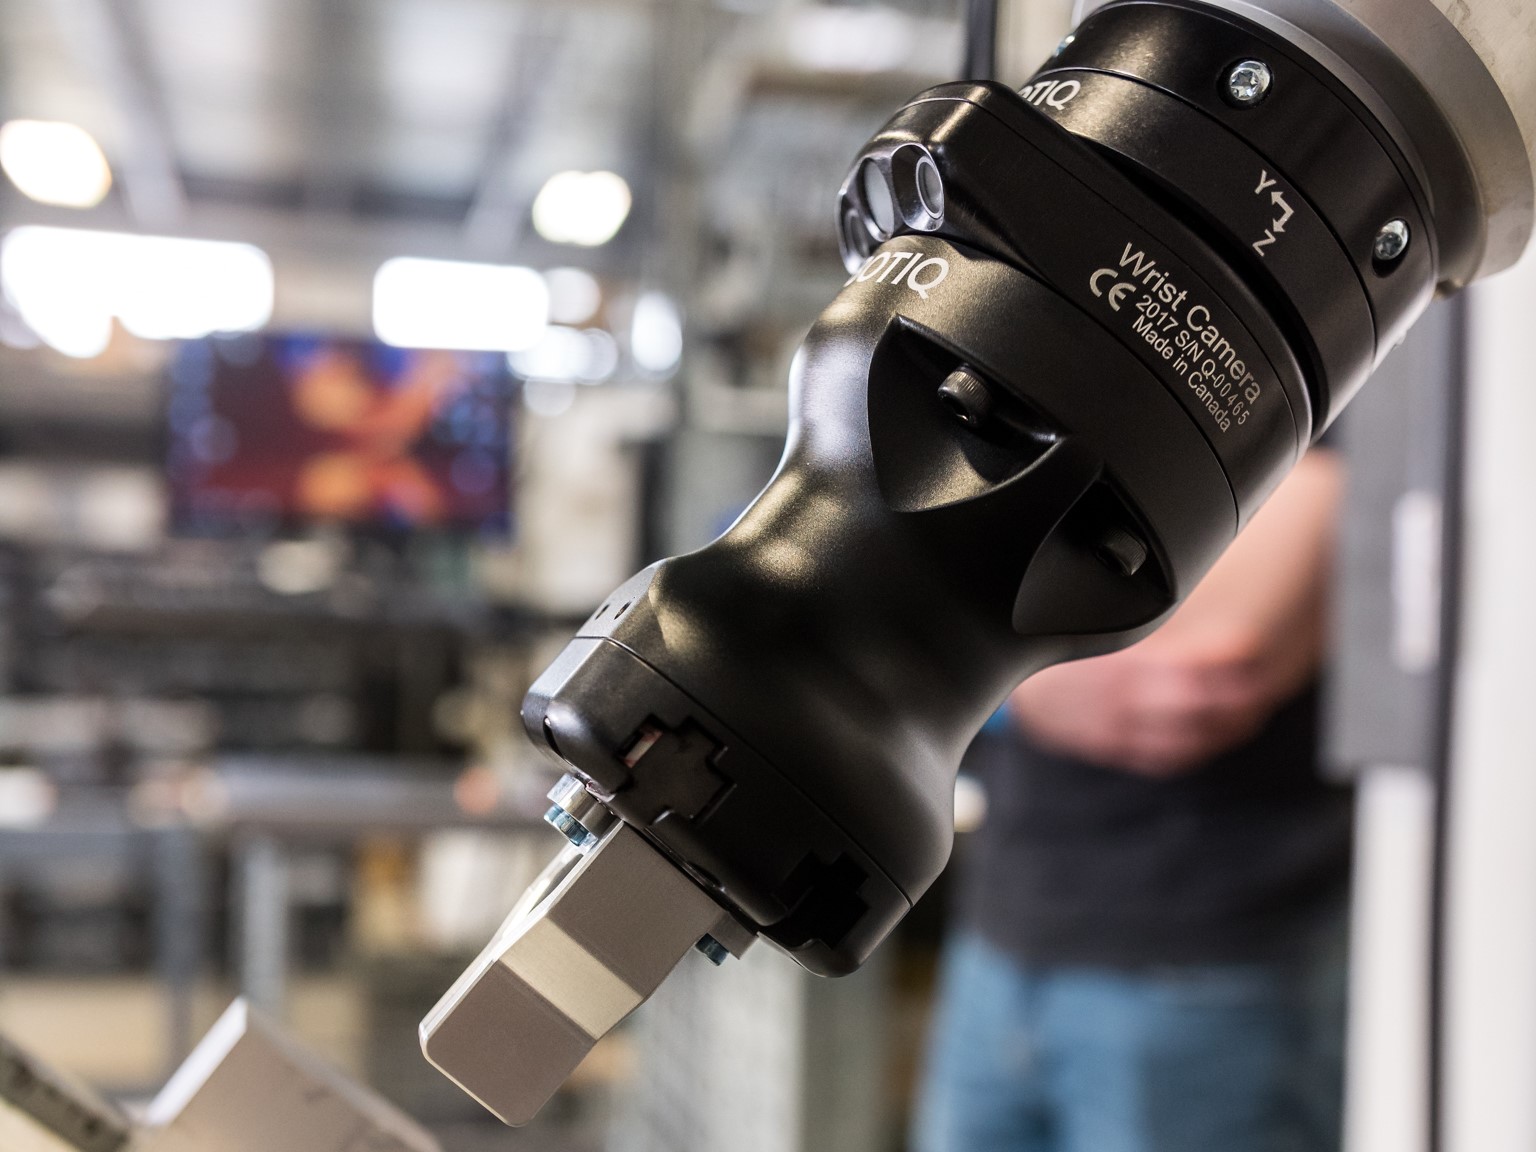
So you have all your material in hand: a camera, a lens, a light source. Now you need to figure out how to configure this. Well, if you have a Robotiq camera, just sit back and relax, because all will be set up automatically. Take a coffee and read this post as a general knowledge article that will remind you of photography lessons or physics classes. If, on the other hand, you have a camera that you need to set up yourself, you will need to balance the lens aperture, the camera’s exposure time and the light used. You surely have taken a picture at some point in your life that was not a professional shot: some things were blurred, or a flash was saturating a picture, or the focus was on the background instead of the main subject. Well, if you want to use a camera to look at an object, you will need to adjust the camera with the optimal settings, in order to get the best results possible.
Here are a few optical rules that will help you achieve the correct setup. I’ll start smooth on the principles so don’t worry about your physics classes being far off in your memory and keep reading!
Resulting exposure (light that reaches the sensor) is proportional to the lens aperture. This one’s a no brainer. The bigger the lens aperture is, the more light it lets into the lens, so the more light will be collected by the sensor. I told you we’d start easy. Since we’re on the subject on aperture, you should know that they are labeled f/x on the lenses, with x ranging from 1.4 to 32 (although it can be smaller and bigger than that for specific applications). So f/16 has a rather small aperture, while f/2 is almost fully opened.
Resulting exposure is proportional to the intensity of the light source. See? Another easy one. Light sources come in various shapes & sizes, and we will have a follow up post specifically on this subject, so stay tuned. For a specific lighting, you can probably adjust its intensity, up to a certain point. The light intensity will need to be balanced with the following settings.
Shutter speed is related to the speed of motion. Shutter speed is also called ‘exposure time’ in machine vision. It relates to the quantity of time the shutter remains open. If the part you need to get a picture of moves fast, and you don’t want it to appear blurred on the picture, you will need to use a high shutter speed (low exposure time), i.e. take a quick snapshot. The shorter time it is opened, the less light it will collect.
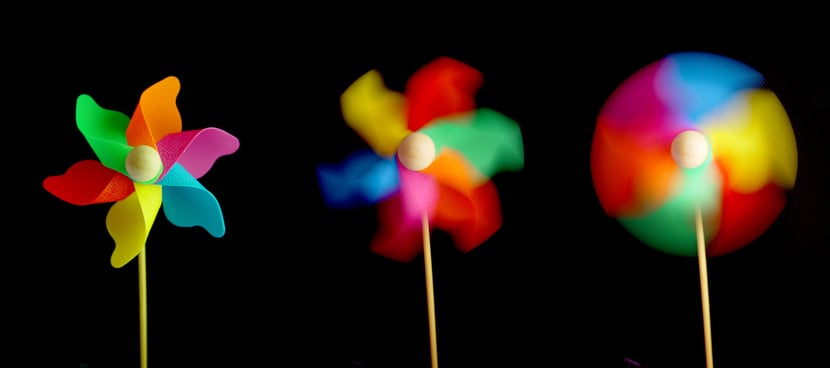 Low exposure time will result in freezing the motion (left) and high exposure time will show the movement (right)
Depth of field is inversely proportional to the lens aperture. Now that’s a biggie. If you’re nearsighted, you might have experienced this yourself by making a small aperture with your hands and looking through it in order to see something far away in focus (if you haven’t, now is the time to try it out!). Well, you have reduced the ‘aperture’, therefore the number of light rays coming into your eyes, and your depth of field was increased.
Depth of field is directly proportional to the working distance. If your camera stands close to the object, the depth of field will be quite narrow. That means the closer you will be from the object you want to inspect, the harder it will be to set the proper focus.
Balance is the key!
So if you have followed the article so far, you might have noticed that everything is related. Fast-moving object? You need low exposure time. But that reduces the light coming in. What should you do? Increase the aperture? Maybe. But this will decrease your depth of field. Having a narrow depth of field might mean some things you wanted to be at focus are not. If you need a big depth of field, you might opt for a small aperture, but an increase in the quantity of light you’re using. So back to the principle: balance, balance, balance! To help you out, take note of the variables that you can play with, and the ones that are fixed (e.g. the working distance might be fixed from your physical setup).
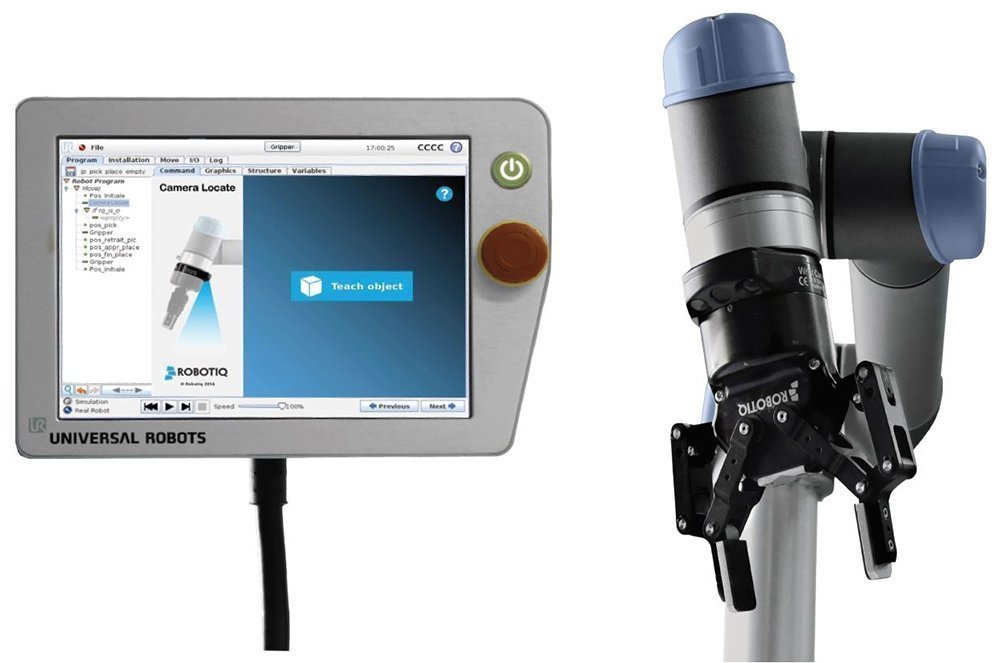
Seems complicated? Well, as I told you up front, if you buy Robotiq’s vision system for a pick & place application, you won’t have to bother with these settings, as they will be set automatically. But if your application is complex, you might need to work out the best settings for you. In this case, I hope this article was a great start to achieve your optimal settings!
Stay tuned for the follow-up article on lighting.

Leave a comment