

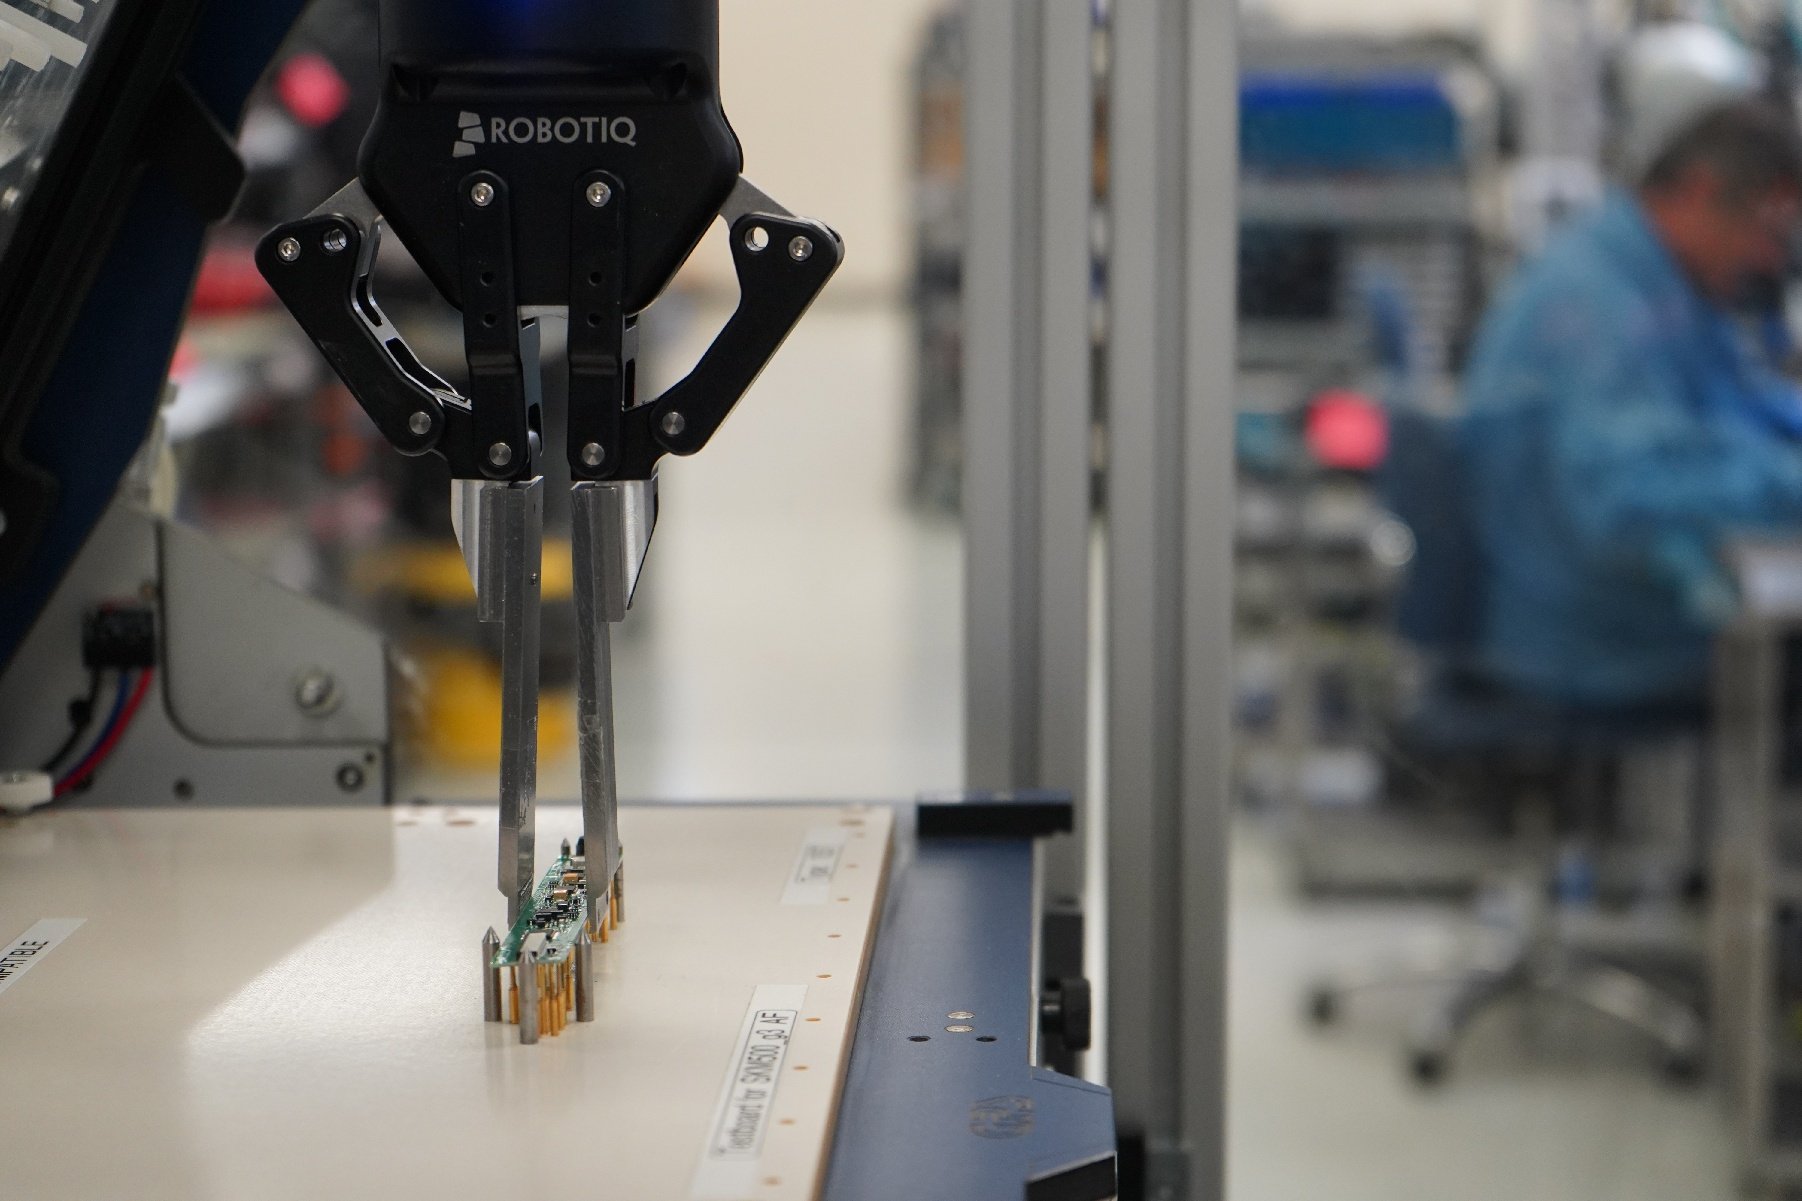
Since we have a pretty seamless fit on the Universal Robots platform with several of our products, we thought it was time to bundle them together and to offer an Installation Guide. The following article explains how to install a 2-Finger Adaptive Gripper with a FT 150 Force Torque Sensor on a Universal Robots.
Here's a video that explains the whole process, the steps are explained below in the article. Notice that the video is using the CB2 and CB3 versions of the robot controller.
What you need
If you have ordered a Package for Universal Robot with a 2-Finger Adaptive Gripper and FT 150 Sensor at your local robot supplier or directly from us, you will have all the necessary hardware. However, just to make sure, here's the complete list.
Hardware:
- 2-Finger (85 or 140) Adaptive Gripper and its coupling (including 4x M5-0.8 x 35 SHCS)
 10m 2-Finger Device Cable
- Force Torque Sensor FT 150
- FT 150 Coupling with UR bolt pattern
- 10m FT 150 Device Cable
- 4x M6-1.0 x 10 SHCS
- 4x M4-0.7 x 35 SHCS
- 4x M4-0.7 x 10 SHCS
- 2 x M6 Dowel Pins
- USB Stick
- USB Hub splitter
- 2x USB to RS485 Adapter cables
Tools:
 5mm Allen Key
- 4mm Allen Key
- 3mm Allen Key
- 3mm slotted screwdriver (for installation on UR-CB2)
- 2mm slotted screwdriver (for installation on UR-CB3)
- Tie Wraps
 5mm Allen Key
How to do it?
If you take a look at the video, you will have a better idea of what to do exactly to correctly install the FT Sensor and the Gripper on the UR robot. However, these are the main steps.
- Fix the FT 150 coupling on the robot wrist by aligning the 6 mm dowel pin and screw in the M6 x 10 SHCS. Make sure to use threadlocking compound to secure the screws.
- Align the FT 150 Sensor on the coupling using the two 3 mm pins on the cover of the Sensor. Secure the Sensor with the M4 x 35 SHCS screws and their lock washers. Make sure to use threadlocking compound to secure the screws.
- To align the Gripper's coupling you need to first insert a 6 mm dowel pin in the FT 150 Sensor. The coupling will then be well aligned with the sensor. You can then secure the Gripper’s coupling using four M4 x 10 SHCS. Make sure to use threadlocking compound to secure the screws.
- Then the Gripper has to be aligned with its coupling using the pin embedded in the Gripper. Once it is aligned, the four M5 x 35 SHCS will secure the Gripper in place.
You then need to connect the device cables for the Gripper and the FT Sensor. The bare ends of the cables have to be connected to separate USB to RS485 adapters. The following steps have to be done for the Gripper cable and the Sensor cable. Make sure that there is a jumper on the combicon USB to RS485 adapter.
- Connect the white wire of the device cable to ''485+'' (A+) combicon of the USB to RS485 adapter.
- Connect the blue wire of the device cable to ''485-'' (B-) combicon of the USB to RS485 adapter.
- Connect the bare wire of the device cable to ''GND'' (G) combicon of the USB to RS485 adapter.


The 2 remaining wires have to be connected to the controller. The following steps will depend on your controller version. Make sure to identify which version you're using to make sure to connect the Gripper and the FT 150 Sensor to the right position on the robot controller.
CB2
 Connect the red wire of the device cable to the 24+ slot of the robot controller.
 - Connect the black wire of the device cable to the GND slot of the robot controller.
- Do this for both the Gripper and FT device cables.
- Insert both USB to RS485 adapters into the USB hub splitter.
- Connect the USB hub splitter to the robot controller.
 Connect the red wire of the device cable to the 24+ slot of the robot controller.
 CB3
 Connect the red wires to the 24V slot of the power combicon.
- Connect the black wires to the 0V slot of the power combicon.
- Connect the power combicon back to its initial position.
- Connect both USB to RS485 adapters to the USB hub splitter.
- Connect the USB hub to the USB port of the robot controller.
 Connect the red wires to the 24V slot of the power combicon.
After this you will still need to download the Robotiq drivers onto a USB stick and insert it into the USB port of the Universal Robots pendant. This will automatically recognize the devices and then you will be able to program the Gripper and the Sensor using embedded routines.
If you need further information on how to program or how to install devices, please consult the support section on our website.


.jpg)

Leave a comment