How to Control the Grip Force of the Robotiq Grippers

Posted on May 04, 2016 in Robot Grippers
3 min read time
Robotiq Support Team is proud to introduce you to the first of the How-to video series - Support. These short capsules are made to answer the most common questions our customers have when using our products. You’ll find out our latest support videos on Robotiq TV.
One of the interesting features about Robotiq's Grippers is the control of the grip force. Depending on your application, you may want to be careful handling fragile parts or apply a stronger force to make sure the part doesn’t slip while handling it. The integrated grip force control of the Gripper then comes in handy.
Before starting, you must know that the instructions below apply to the 2-Finger Gripper as well as the 3-Finger Gripper. In this example, we use a Universal Robot since we offer a prebuilt high level function package, but the control of the Gripper is similar with any other robot except that you will need to define your high level functions yourself.
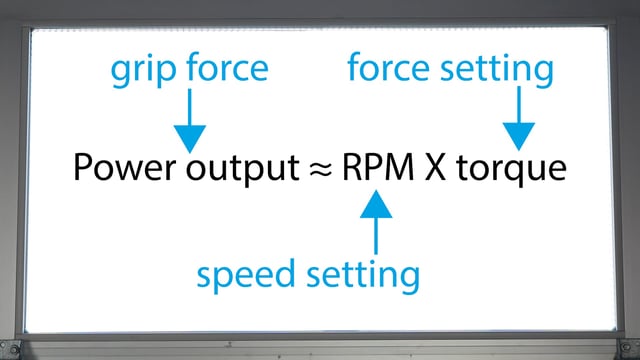
First, you must know that the grip force is related to 2 parameters, the RPM (speed setting) and the torque (force setting).
With the Robotiq package installed on the UR, you can test the grip force with the GUI.
- Click the Gripper button at the top of the screen.
- Activate the Gripper.
- Then, you can open and close the Gripper manually and jog the force and speed parameters.
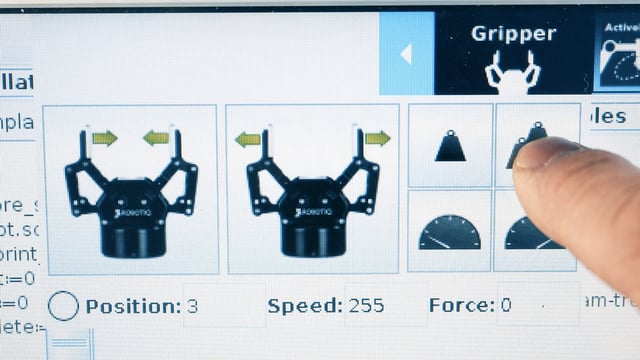
The speed and force variables will range from 0 to 255, where 0 is the minimum and 255 is the maximum. To reach the maximum grip force of the gripper, you must set both parameters to 255 and do the opposite for the minimum force.
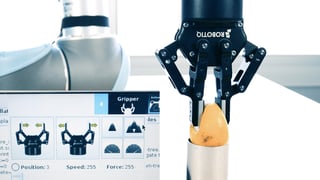
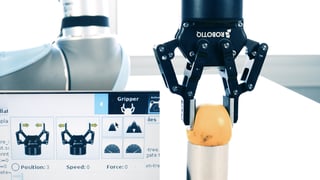
Example of program with the Robotiq gripper
In order to program the Gripper on the UR, you can get the advance_template.urp.
- Insert the rq_force variable where you want it in the program (structure --> advanced --> assignment)
- Select the variable and go in the Command tab, choose from the list rq_speed or rq_force
- Edit the variable to the desired setting (0 to 255)
- In Structure tab, add a Subprogram (structure --> advanced --> subprograms)
- Select the subprogram and go in the Command tab, choose from the list rq_set_speed or rq_set_force according to your variable
* The same applies for the speed using rq_speed and SubP_rq_set_speed.
For more info on the Robotiq force control, get the instruction manual at support.robotiq.com.




.jpg)


Leave a comment