How to Design Gripper Fingertips

Posted on Jan 12, 2015 in Robot Grippers
4 min read time
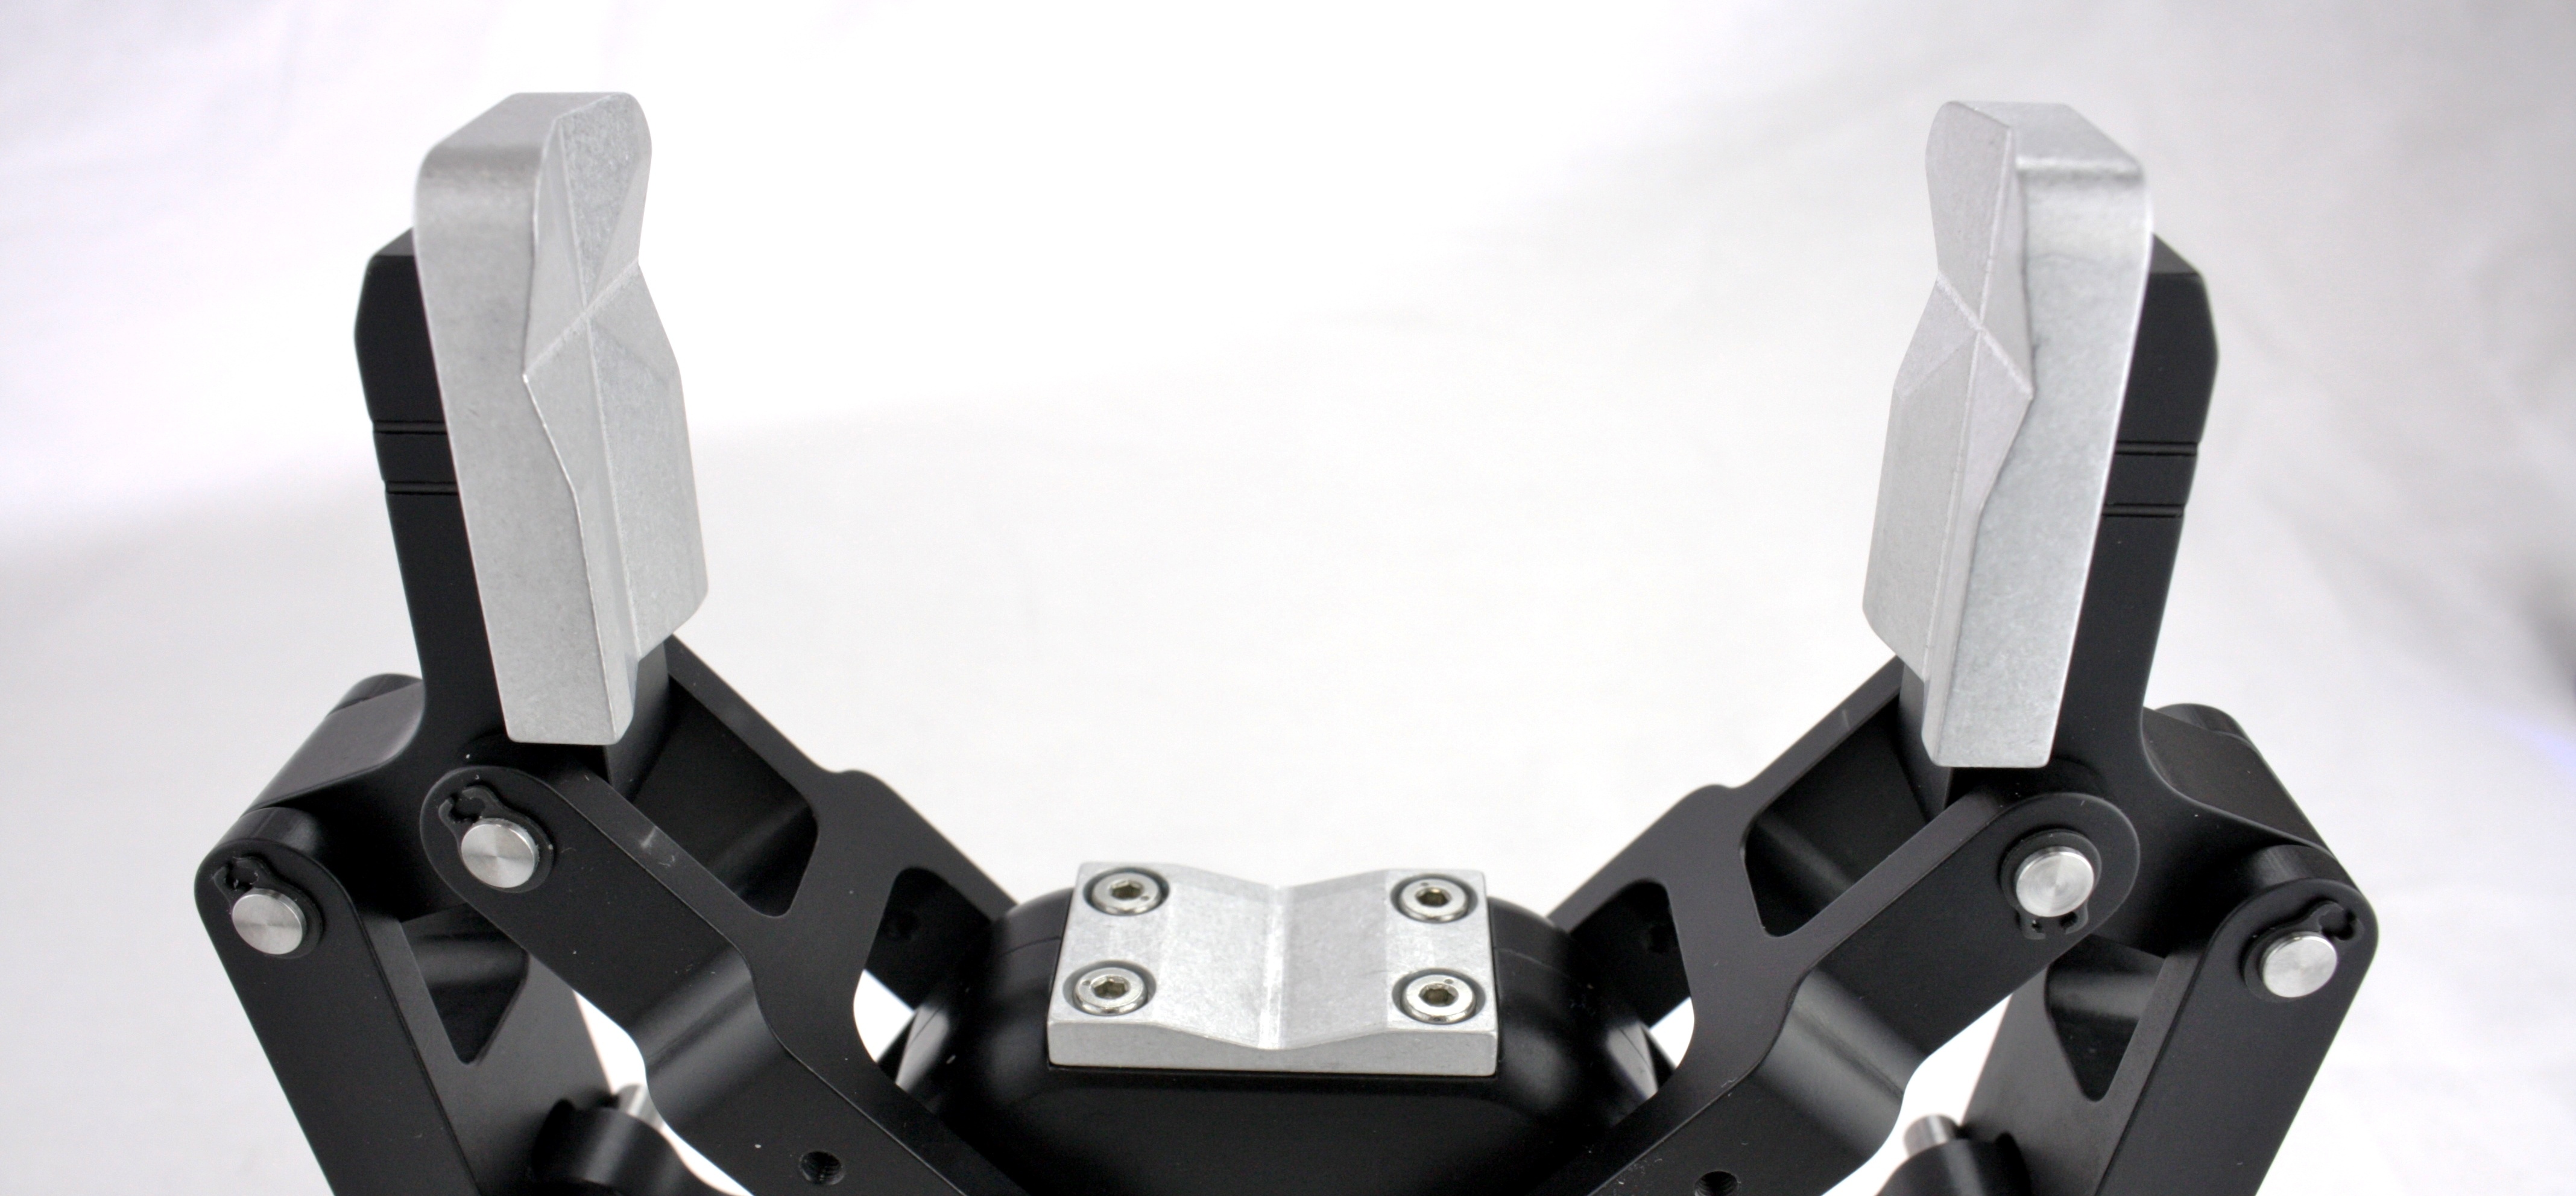
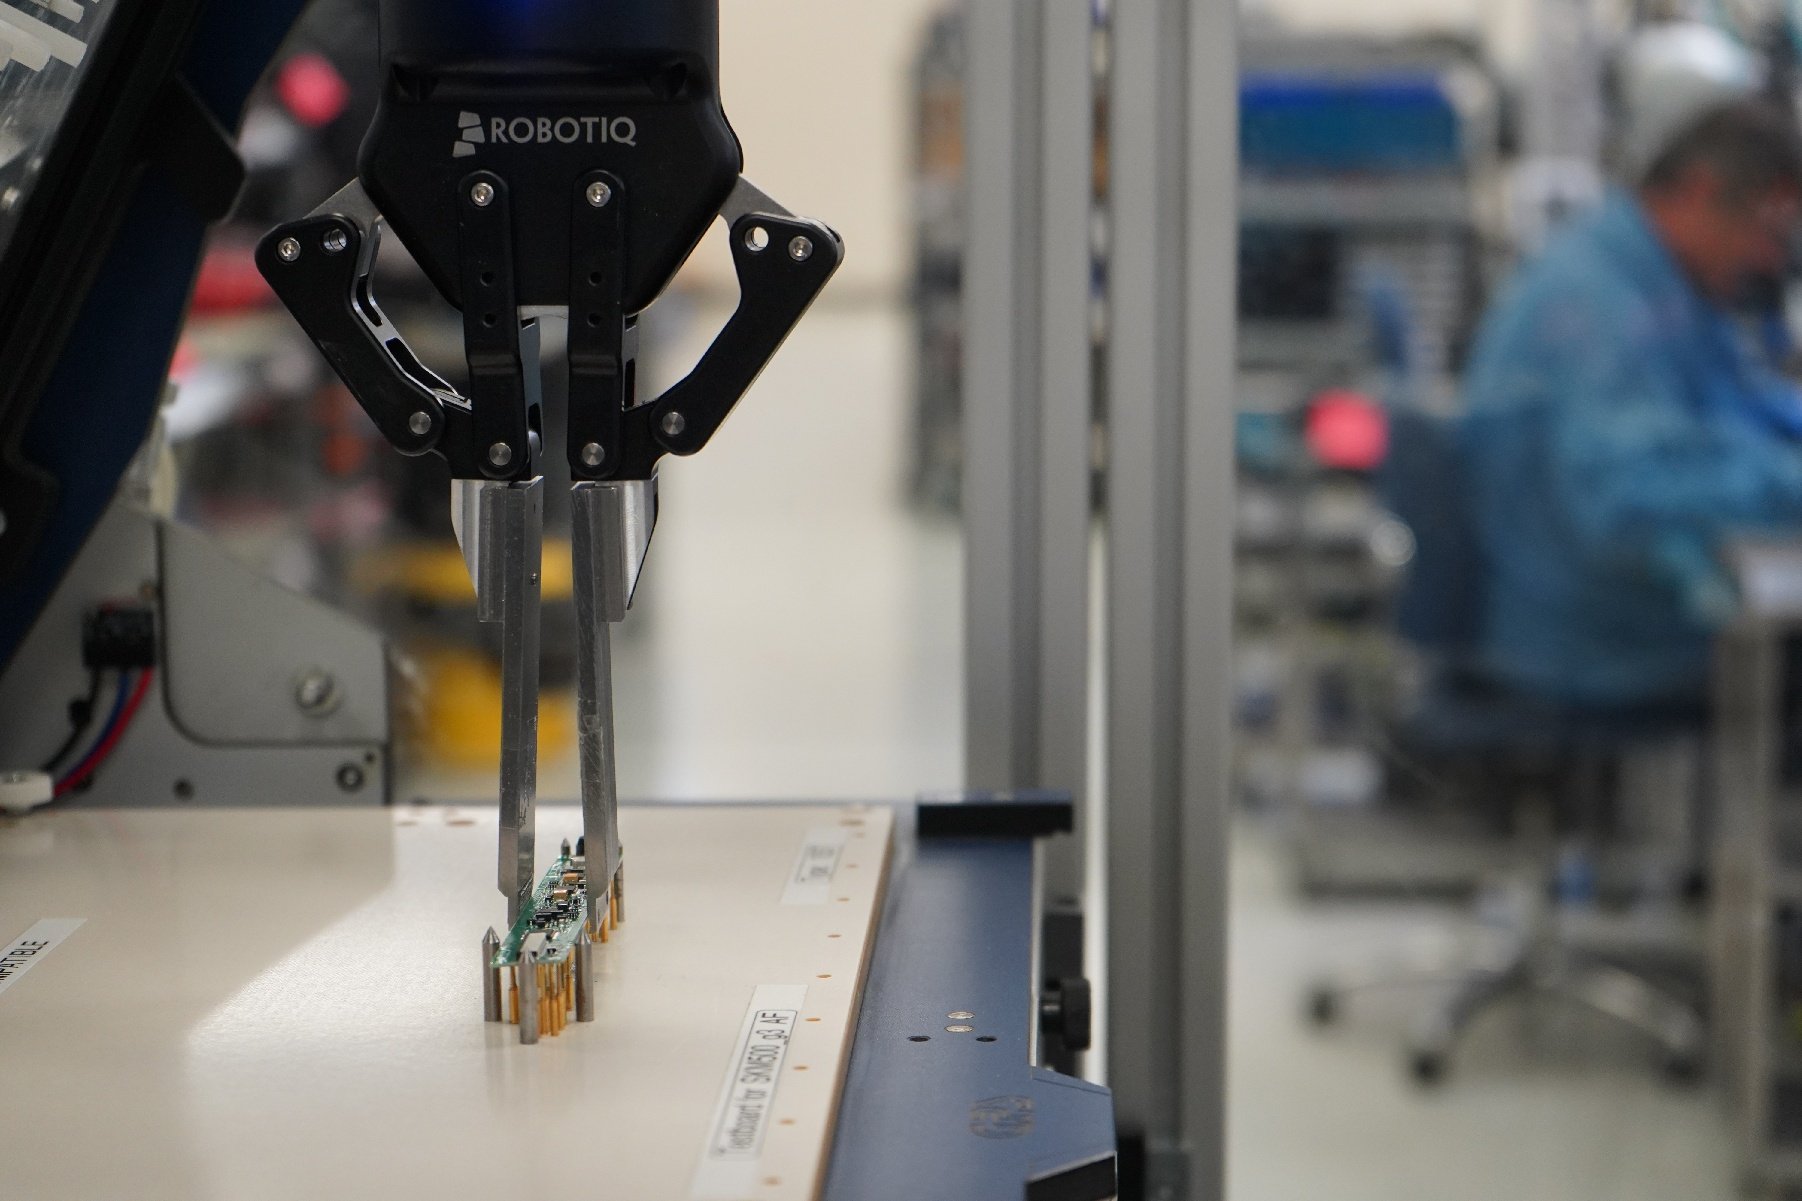
Designers of robotic grippers are always trying to enhance the gripping performance of their product. Some will increase force or precision to execute specific processes or applications. Some other companies will work on enhancing the flexibility of their grippers to make them ready for a wide range of situations. Although, if your robot application is doing one task such as pick and place with a specific geometry, you may want to optimize your gripper and adapt it to your specific process. This is the main reason why custom fingertips might be a good solution for your applications.
 From the very beginning of humanity, humans have used tools to handle stuff. Nowadays we still use special tools to execute special tasks, either to have more grip strenght or to adapt our hands to a specific shape. It is even more important to adapt these tools when using a robotic gripper. In fact, even the most flexible gripper won't be able to grasp ever single type of object and in some cases a ''stock'' gripper won't be able to grab the required object at all. However, using custom fingertips may help your robot execute the task you have set for it.
 For Example...
The most common part type that we are seeing requests for are cylindrically shaped parts. Since our 2-Finger 85 Adaptive Gripper has 2 flat fingertips, when the Gripper grasps a cylinder axially (parallel grip) with the standard fingertip, the Gripper creates 2 lines of contact on the cylinder. This can create instability with the grip contact. To solve this problem, the 2-Finger 85 can be used in the encompassing mode. This creates up to 5 points (or lines) of contact. Even if this sounds like a large number of contacts some applications can't be managed using an encompassing grip. This is why custom fingertips are sometimes used.
There are other types of custom fingertips which might be used to increase the grip contact on an object. The basic idea is to increase the friction coefficient which gives a better grip between the fingertips and the part. Materials such as silicone or high density rubber can also be used to provide this increase in the friction coefficient. In the case of thin fragile objects, the use of this kind of material can be the difference between a constant process and an unstable one.
Real Life Examples

We have also seen a lot of machine tending applications using custom fingertips to exactly match the production process. In fact, raw material is more often than not delivered in square or round shapes. A square is quite intuitive to grasp, however a round shape, as I said previously, is more complicated. To increase your contact points, having custom fingertips that are in a ''V'' shape can help. This means that there are now 4 points of contact on the circle. By grabbing the cylinder thus, the cylinder is first of all, way more stable than with 2 points of contact. It is also centered, which means that the center of the cylinder will always be in contact at the same 4 positions on the gripper. This increases the positioning accuracy and allows the process to be much easier to program.
For the moment we are not offering a wide range of fingertips, but we do encourage customers to try funky and personalized designs. These designs can be verified by our design engineers to make sure all the pertinent dimensions are respected. We will soon be proposing different options for fingertips to cover an even wider range of applications than the actual standard fingertips. For the moment here is some information that can be useful if you want to design your own fingertips. Make sure to take a look at the instruction manual for details before starting your design process.
Phalanx Design
The design of your fingertips must be able to attach to the phalanx of the Gripper. The following drawing shows the main dimensions for fixation. The fingertips should use the two screws for fixation and a dowel should be installed for a maximum of precision when assembling (or disassembling) the fingertips.

Equilibrium Line
Since the robot Gripper is designed to perform an encompassing grip, the equilibrium point must be considered in the design of your custom fingertips. The equilibrium line is the region where all the magic happens... seriously, if a force is applied below the equilibrium line the phalanx rotates until it comes in contact with an object. If a force is applied above this line, the Gripper will stay in parallel mode. Make sure to understand the significance of this mechanical concept before beginning your design. Remember, if your point of contact with the object is under the line, the Gripper will automatically go into encompassing mode, which might not be the best plan of action for certain applications.

I hope that this information helps you figure out the utility of custom fingertips and gives you some ideas about how to design them. Even though this articles provides only basic information on fingertip structure, feel free to contact us with your specific questions or to refer to the instruction manual for further detailed information.


.jpg)

Leave a comment