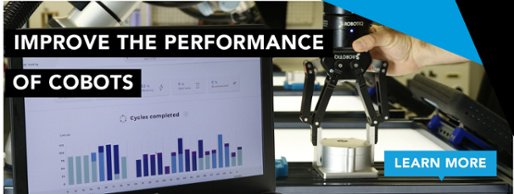

Your robot vision just won't detect your object! What's wrong with it!? With this unusual trick, often used by the experts, you can improve your vision teaching in a flash.
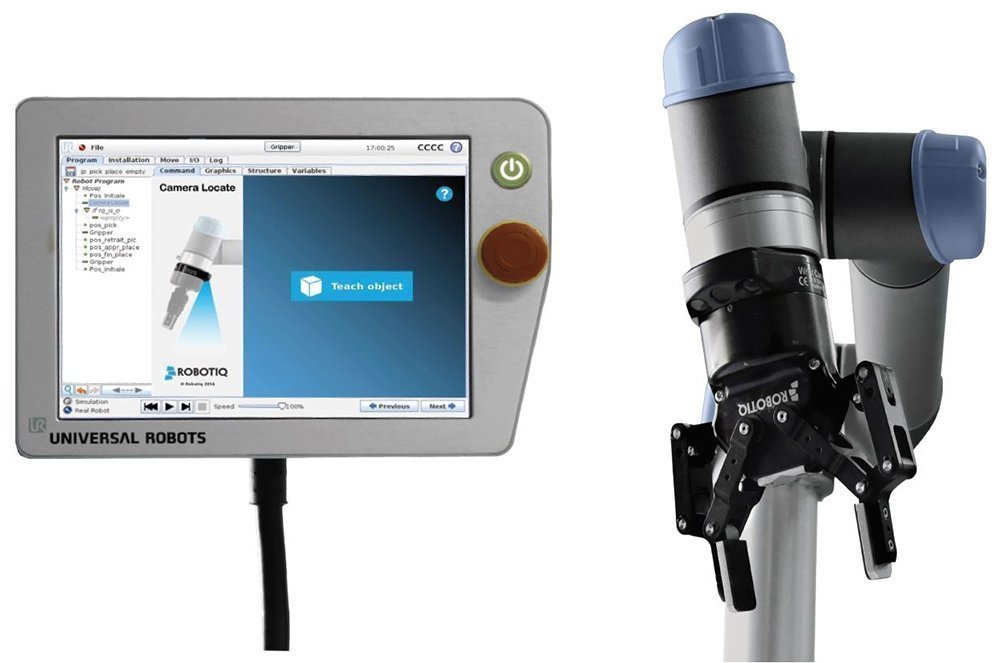
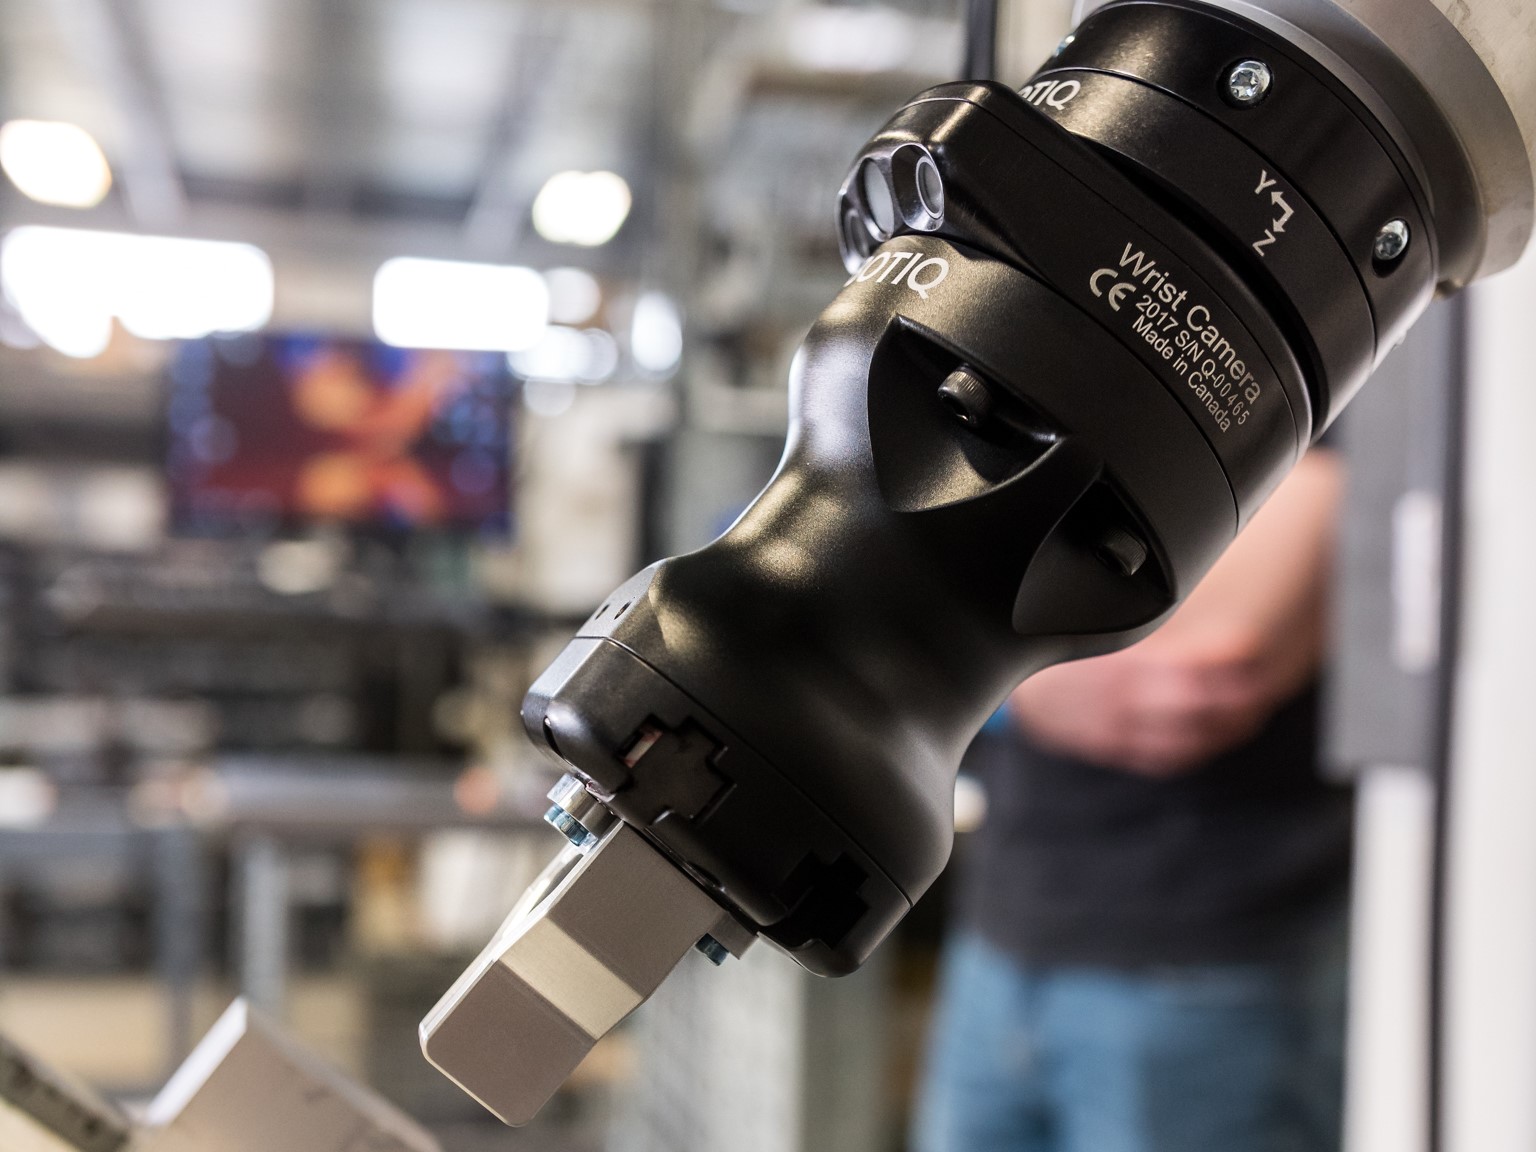
The Robotiq Wrist Camera URCap version 1.7 is now the fastest and most intuitive vision system for Universal Robots.
Imagine that you are using robot vision to recognize an object. But, there's a problem! When you used the teaching mode, there was something unusual about the object outline in the camera. Perhaps the object's shiny surface had a bright spot, or the camera picked up too many detailed features. Now, whenever you try to detect objects with the vision system, it does not recognize the object because it looks different in the camera.
This is a common problem in robot vision.
Ideally, you want to teach your vision system with a model which is accurate and only contains the necessary features. If the model you teach it has flaws, the outline of the object will be harder to detect and this will reduce the effectiveness of the whole system.
But, there is an unusual trick you can use to improve the teaching mode and make it more robust.
I'll reveal the trick in a moment, but first let's look at what causes robot vision teaching to fail…
Why teaching objects to robot vision gets tough
There are various tricky challenges for robot vision, including occlusion, deformation, scale, etc. These affect the vision system both in the teaching and detection phases of operation. However, they are more problematic during the teaching phase because they distort the model that the robot uses to detect objects.
To understand why the teaching phase is so important, it's helpful to understand a little bit how template matching works as this is the cornerstone of object detection. We wrote an entire article about this called How Template Matching Works in Robot Vision, but here are the basic details.
- Read more: How Template Matching Works in Robot Vision
Template matching involves training your vision system with a "template image" of the object you want to detect. You usually train this template image by pointing the vision sensor at your object and running the system's teaching mode. Later, during the detection phase, the vision algorithm will look for areas within the image which are similar to that template image.
If the template image is flawed, the system will not be able to detect the object.
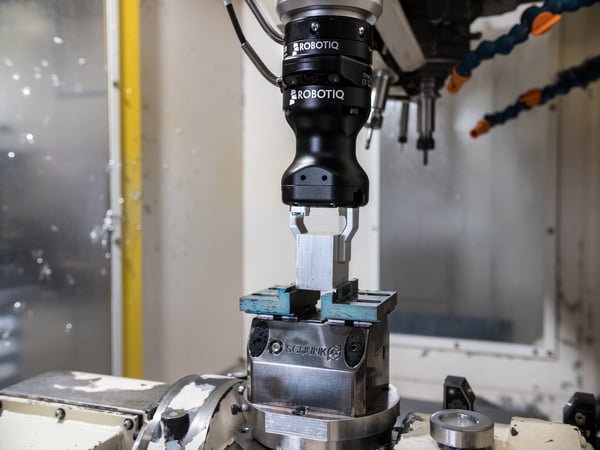 A faster and more accurate image definition will improve its object detection ability regardless of the work plane material.
Three factors which cause bad template images
Here are three common factors which result in bad template images, and which can be solved by the unusual trick I'm about to reveal to you:
- Features are too detailed — We tend to think that more detailed images are better. However, this is not always the case in robot vision. Often, you will get a more accurate detection when your template image has fewer features.
- Lighting distorts image — Shiny objects and backgrounds can cause lens flare in the camera and obscure parts of the image. This can distort the object shape within the template image.
- Bad contrast with background — The ideal conditions for teaching a template image is when the object you are detecting has high contrast with the background (e.g. black object on white background). When the color or shade of the background is too similar to the object's color, the system will have trouble defining a clear, accurate edge.
The unusual trick that improves robot vision teaching
Thankfully, there is a handy trick that you can use to improve the quality of your template image.
It is a slightly unusual trick…
Don't train the vision system using the object you want to detect!
Huh?
Surely that doesn't make sense?
Surely you need to train the vision system with the object you want it to detect?
Not necessarily.
Let me explain. Most robot vision systems detect objects using 2D images captured by a camera. This means that the template image is also 2 dimensional. As a result, you don't actually need to use the 3D object to train the system.
What can you use instead? A printed drawing of the object, for example.
This is a technique that our integration coaches often use to combat the challenges they encounter when teaching robot vision. In the past, for example, they've used it to overcome lighting issues with shiny objects and to teach objects which are too big to move.

Five steps to teach a robot vision system without an object
The process for using a 2D image to teach your robot vision system is quite simple. It starts by turning your CAD model into a 2D engineering drawing.
Then, follow these 5 steps:
- Choose your features — In your CAD program, remove any of the edges and other features that you do not want to include in your detection, e.g. internal edges which aren't visible all the time, part customisations, etc.
- Pick the right paper color — Choose a color and shade of paper which will provide high contrast with the background. Remember, it must also contrast when the color is removed from the image as edge detectors are usually run on greyscale images.
- Print at a scale of 1:1 — This is important and sometimes tricky. Ensure that your printout matches the real size of the object. Some printers have a tendency to scale images slightly so be wary of this.
- Set the right height — You'll need to place the drawing at the same height that the features you have chosen will be during the detection phase. For example, if you have a 20 cm high rectangular object and you're detecting its top face, place the drawing 20cm above the surface.
- Teach the part to the system — Use the vision system's teaching mode to teach the template image.
By the way, you don't have to limit yourself to 2D drawings. Sometimes a 3D printed version of the object can overcome teaching issues like shiny surfaces and low background contrast.
With this unusual trick, often used by the experts, you can easily overcome many of the common teaching problems with robot vision systems!

What issues have you had in the past with robot vision? Tell us in the comments below or join the discussion on LinkedIn, Twitter, Facebook or the DoF professional robotics community.

Leave a comment