Robot Metrology: Overcoming the Inspection Bottleneck

The Inspection Bottleneck can seriously reduce your manufacturing output. It doesn't matter how much product you can produce if, in the end, it all piles up outside the door of your metrology lab. The solution? Robotic metrology. Sure, it has been costly in the past, but times have changed. We find out how one company has made robotic metrology simple, cost effective and accessible.
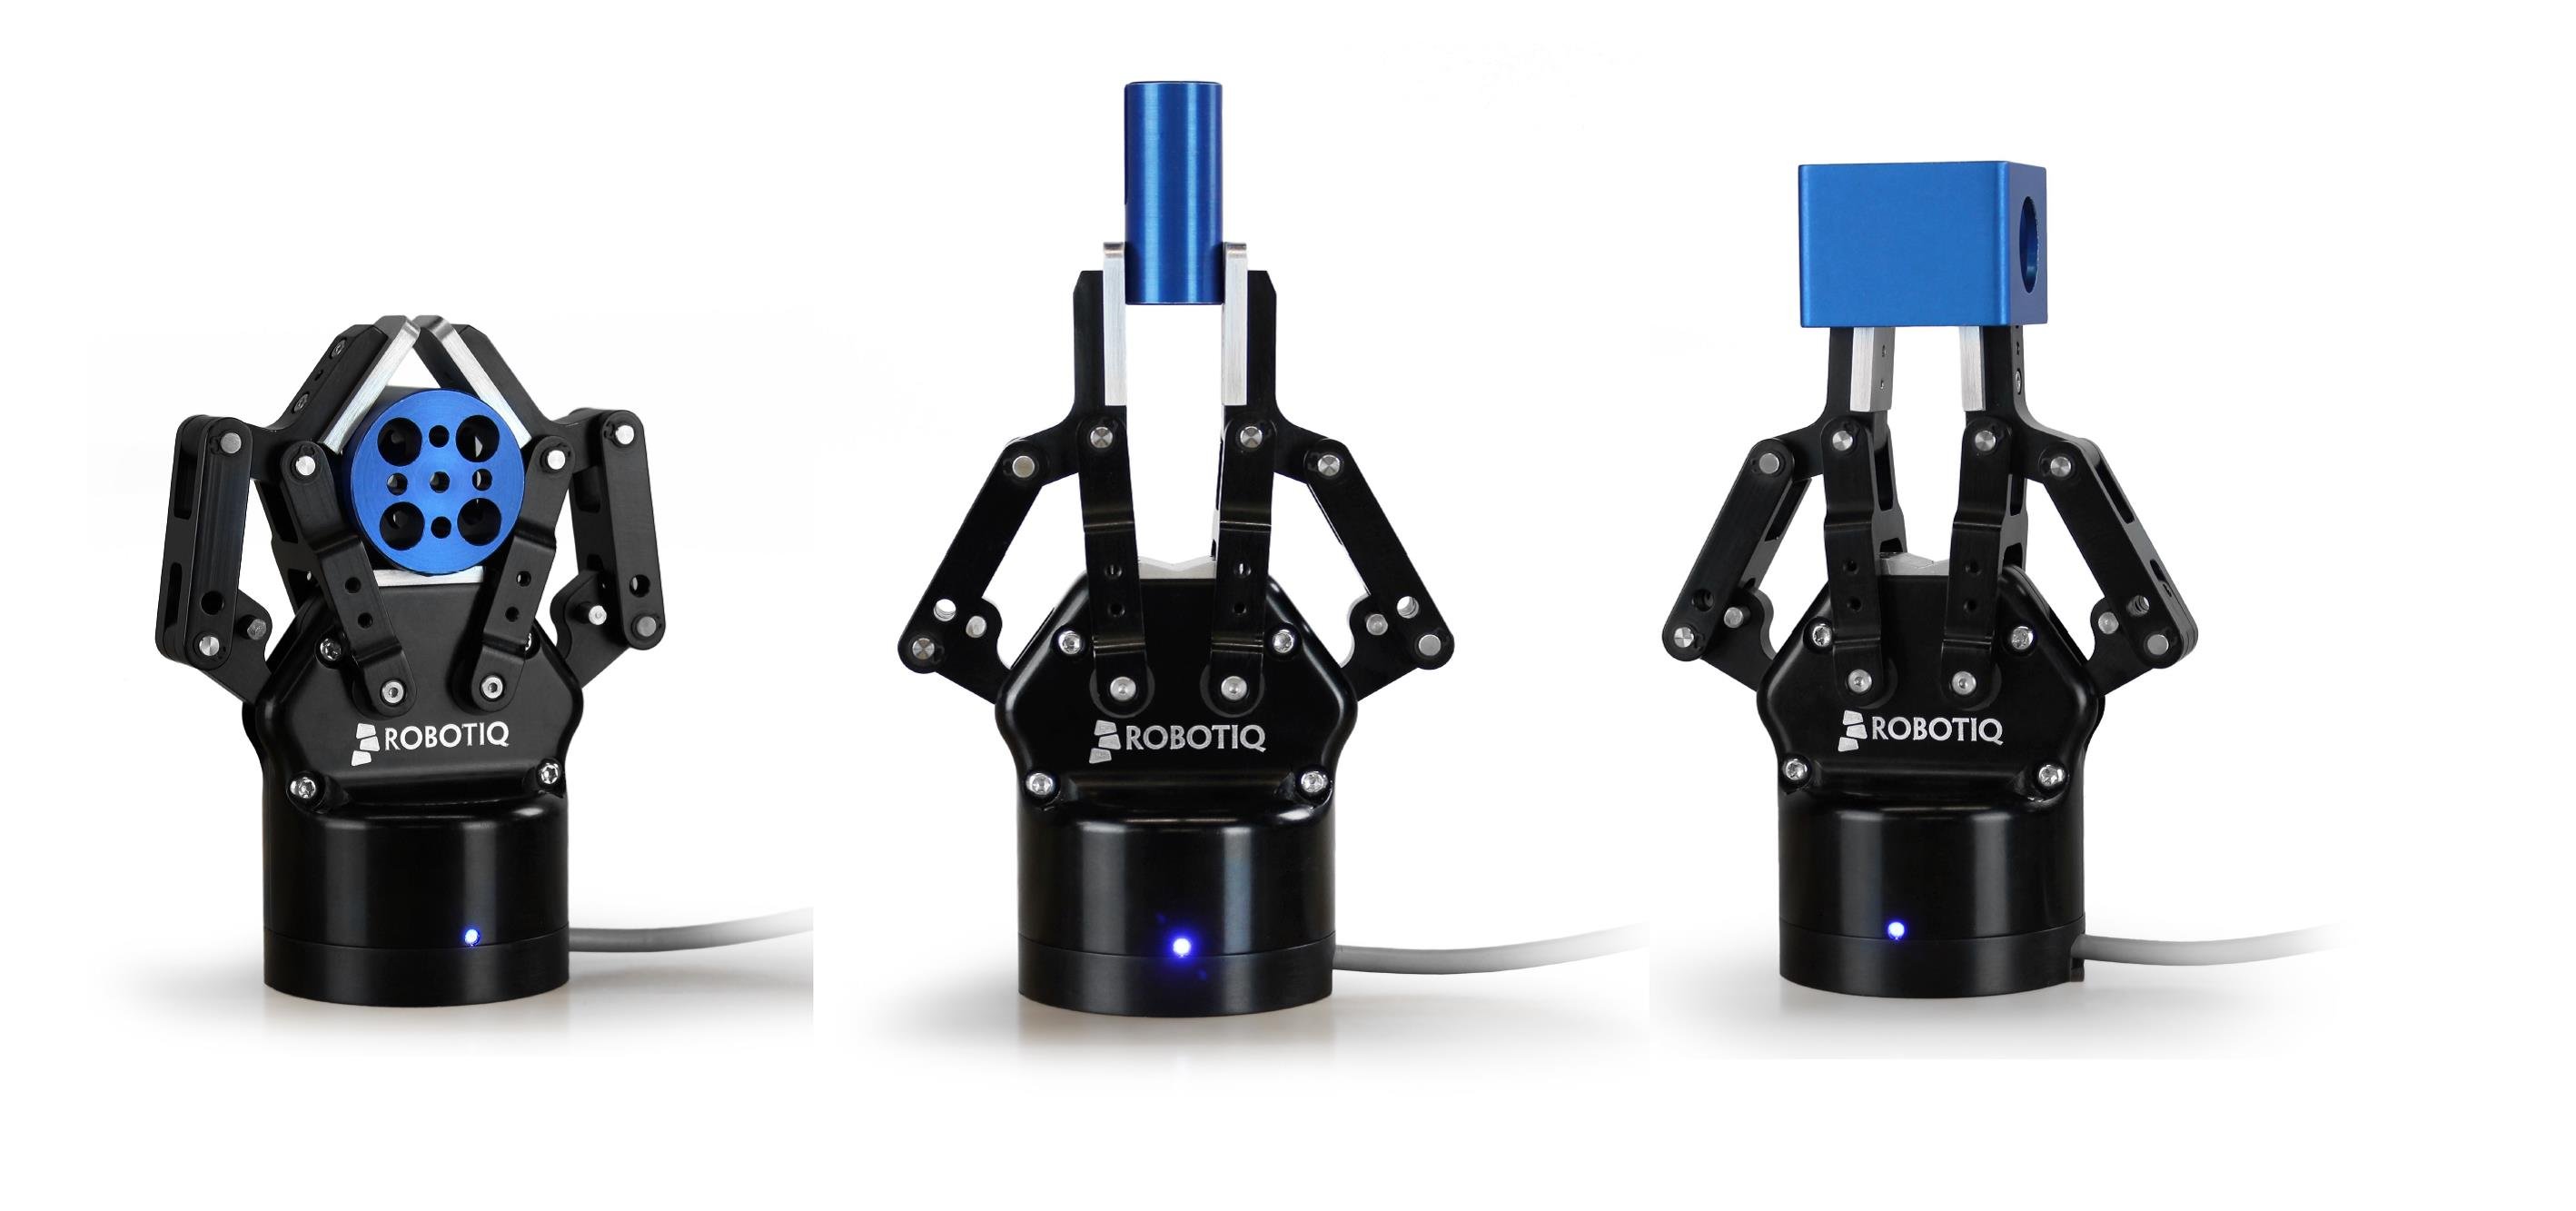
The Robotiq 2-Finger Gripper is popping up all over the place this year. So far in 2016, we have seen it cooking sausages, handling radioactive parts, building Legos and even hanging-out inside an airbag.
This week, a video caught our eye from the guys over at 3D Infotech (I'll show you the video in a moment). They demonstrate how the Gripper can be used in automated metrology. We were intrigued, so decided to find out more. What is metrology and why is it important?
A World Without Metrology
The modern world would break down without metrology. You would put a coin into a vending machine and it wouldn't fit. Your shoes  would be totally different sizes. You'd climb a flight of stairs to find a huge gap between the top step and the floor above. Without metrology the world as we know it would not exist.
Metrology is the science of measurement. It affects every part of our lives from the speed limit set on public roads to the height of the building you are in right now. The core concept of metrology is the standard unit of measurement. All manufactured products are measured using standardized measuring systems.
Within manufacturing, metrology is used at the inspection stage. Products are measured to ensure that they conform to the design parameters. This includes measurements like: the external and internal dimensions of the products, the thickness of materials, the presence of cracks, etc.
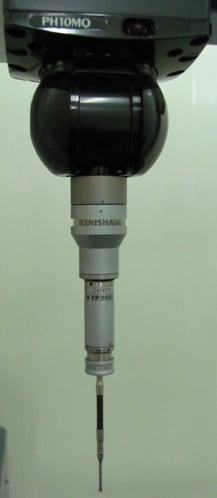
Traditionally, metrology measurements are performed manually, using a probe. Products are sent to a metrology lab and an inspection engineer measures them at various test points, using a variety of different tools. For some products, such as many consumer goods, only a random sample of the products are tested. However, other manufacturers require every single product to be tested. This takes a lot of time and leads to "The Inspection Bottleneck."
The Inspection Pain-in-the-Bottleneck
The Inspection Bottleneck is a pain in the neck. Inspection engineers are often put under a lot of pressure from management because they are seen to be delaying the whole manufacturing process. In an ideal world, inspection would be 100% effective (passing all good products and failing only faulty ones) and take zero time. In the real world, inspection engineers can sometimes be overworked and underappreciated.
The problem is that there is no perfect inspection strategy. Too much inspection restricts throughput, too little and the product quality suffers. There are various types of "sampling plan" for inspection and here are the three extremes:
- No inspection - Just send all the products to market and wait for customers to send back the defect products. This is the cheapest, quickest form of metrology (i.e. none) but it can become costly to deal with returned products and harms your company's reputation.
- Sampled inspection (acceptance sampling) - This is testing by batch. For example, inspect every 500 products. This is a lot quicker than full inspection, but is not perfect. If you find one faulty product, you have to fail the whole batch. This means more waste and it still means you can miss faulty products. However, it is the only option that allows for destructive testing.
- Full inspection (100% sampling) - Every single product is inspected. This gives the lowest chance for defective products to go to market. However, it is costly and takes a long time.
Detailed metrology takes ages when performed manually with a single probe. Robotic metrology allows you to automate the process, using a robot to operate the probe and allowing the inspection engineer to focus on the detailed analysis.
3D Infotech Makes Robotic Metrology Simple
Robotic metrology has been around for a while, but it has traditionally been very costly. A market review in 1998 came to the conclusion "[Robotic metrology systems] are normally beyond the budget of the average company." Not any more.
Enter 3D Infotech, with their product Universal Metrology Automation. Their aim is to make robotic metrology accessible and simple, by seamlessly integrating robotic hardware, 3D CAD and the metrology software package PolyWorks. Technologies have advanced a lot since 1998 and robotic hardware is now cheaper, more precise and easier to use.
Universal Metrology Automation is designed to be hardware independent, so can be integrated into any robot. The demo that caught our eye was using two Universal Robots - one robot with a 3D laser scanner and the other robot with our very own Robotiq 2-Finger Gripper.
In this conceptual demo, the first robot uses the laser scanner to detect a 3D point cloud of the object surface. This scan is then compared to the CAD model of the part using the PolyWorks software. If the part is free from errors, the Robotiq Gripper picks it up and places it on the "pass" (green) conveyor belt. Defective or suspect parts are put on the "fail" (red) conveyor.
A "fail" doesn't necessarily mean the part is unusable. The system will store the 3D scans of each part, so a human inspection engineer can look more closely at the failed scan and decide if the part is salvageable. As we have seen so often with collaborative robot applications, this liberates the human worker from the routine, boring operations to allow them to focus on the more intellectually stimulating, value-added tasks. It also means that waste is reduced, or even eliminated.
Streamlining Metrology with Universal Robots+
The core of 3D Infotech's process is their software package - Streamline. This incorporates the whole inspection process, including scanning, analysis and reporting. It can interface directly with PLCs, which was the main feature they are demonstrating in this video.
The Streamline metrology software is also part of the Universal Robots+ application library, which Robotiq launched with UR at Automatica 2016.
We're really impressed at how 3D Infotech has managed to make robotic metrology so simple and intuitive to use!
Can you think of ways to use robotic metrology in your process? How has The Inspection Bottleneck affected your business? What approach do you use for product inspection? Tell us in the comments below or join the discussion on LinkedIn, Twitter or Facebook.


Leave a comment