
This article is the second of a series where we give you tricks and tips that we have collected from being around our customers and contacts in the welding world (to read the previous article click here). It introduces what a feasibility study should include to evaluate if upgrading to a robotic welding process is an interesting idea to pursue for your company.
Part 2. Conduct a feasibility study for a robotic welding application
In this step you need to go through important components of the robotic cell, such as the welding operations, the assembly design and the optical system if required. Your needs in these areas will guide you through the first steps of your project and will give you a clearer idea of what you will need in order to have a working robotic welding cell.

Rethink the product design: All aspects of the design will need to be reviewed. The accuracy and tolerance of the parts, as well as the size and the weight of the end product will all determine the type and size of robot welder you will need. The geometry of the welding joint and the gap between the parts will guide you through the minimum clamping precision that needs to be established.
-
Evaluate the part manufacturing process: In fact, before the welding steps, the parts will be manufactured to a certain standard. You need to monitor the accuracy of the cut and of the interface that needs to be welded. The welding robot will execute constant operations and if the parts are not constant, the welding quality will be poor.
-
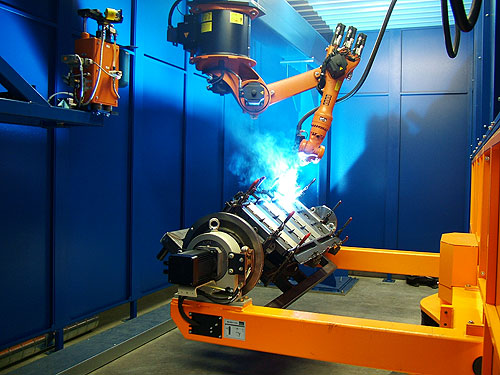
Welding process and peripheral selection: As you probably already weld parts in your shop, you should already know what type of welding you will do with your robotic welding cell. You may want to evaluate whether you need more than one welding robot or if your cell needs a material handling robot to feed the welding robot. Go through the different peripherals, look at the different cooling systems, the cleaning station and the consumables. We have built a comparison grid for the different welding power sources you might want to evaluate for your automated operations. You should take a look at the different specs. They will give you a better idea of what to look for out there.
-
Determine the pre-welding operations: Describe the sequence of manufacturing operations that need to be executed before the parts enter into the robotic welding cell.
-
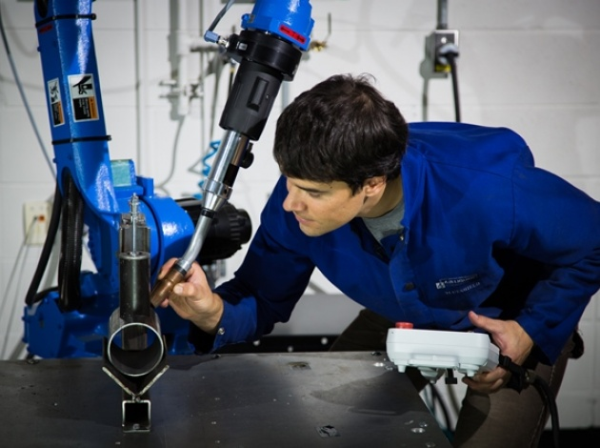
Determine the clamping method: Localization and orientation of the parts need to be determined to have a better idea of the welding robot's working space. This step needs to include the robot's welding angle. You also need to think about the entering and exiting of the part. Since the part may enter into the cell in different small parts, once it is welded, the part may be quite large and then you will need to get it out of the cell.
-
Vision or no vision: Since you are just in the preliminary steps of your design, you don’t need to go into lengthy detail on the vision system. In fact, for now, all you need to know is if 2D or 3D vision is suitable for your welding process. Mobile cameras or even inspection vision systems are also available these days. There are plenty of vision companies out there and a lot of applications, so see what works for you.
-
Envision robotic options: Pressure technologies such as touch detection (Touch Sensing) and pressure sensing using the arc (Though the Arc, Seam Tracking) can be used to give instant feedback to the welding robot regarding the pressure that is applied on the weld itself. The distance between the welding gun and the parts is crucial in this type of operation, therefore make sure you have the right tool to ensure good quality. Programming technology can also be integrated into your welding robot. In fact, products like Kinetiq Teaching can help you program a lot quicker than the traditional method.
-
Equipment localization: Make sure you have plenty of space for the robotic welding cell in your workshop.
-
Evaluate impact: Since the integration steps can be quite long, make sure you evaluate the impact of the changeover on day to day operations and your human and material resources. Don’t forget that you are implanting a robotic cell to increase your rentability, so you don’t want to stop the shop for months just to install the robotic cell.
-
Rentability study: Once you have thought about all these aspects, you can determine a rough price for the robotic cell that fits your needs. To see if the investment is suitable for your company, check the potential gain on each studied part. Try to enhance your manufacturing process to have a fast and easy return on investment.
The feasibility study will help solidify your research into which robotic welding application is likely to be a good match for your production.


Leave a comment