Teaching Welding Robots by Demonstration vs Teach Pendant Programming
Posted on Jan 23, 2014 in Robotic Welding
2 min read time
For the past few weeks we have been introducing you to Kinetiq Teaching - a new add-on solution to Yaskawa-Motoman welding robots to teaching welding robots by demonstration.
We told you that the idea behind Kinetiq Teaching is to:
On the end user side (welders)
- Leverage the knowledge of welders by eliminating, as much as possible, in-depth programming tasks.
- Make using industrial welding robots as intuitive as possible.
On the company side
- Give a compelling return on investment for production lines having small runs or many changeovers throughout the year.
- Open the door to robotic welding at small and medium manufacturers without needing a robotic expert in-house to set the runs.
Kinetiq Teaching vs Teach Pendant Programming
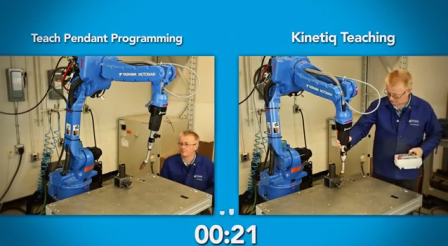
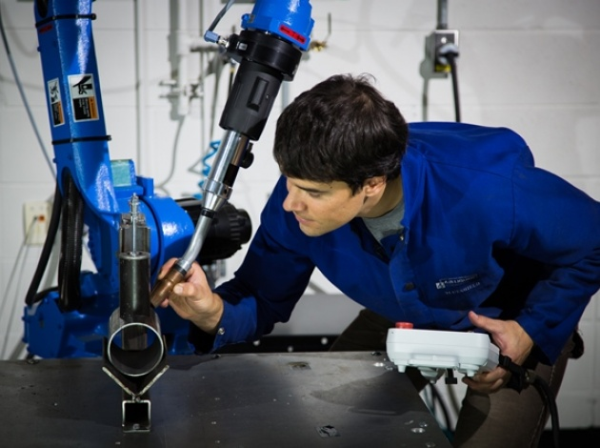
Here is a video which compares the traditional way of teaching a robot and Kinetiq Teaching. The user in this video is a welder, who learned welding using robot programming with a teach pendant some years ago. To test our solution we have asked him to program some welding trajectories for a part. Then we introduced him to the Kinetiq Teaching solution. This technology was new to him. He received only basic training with Kinetiq Teaching. So, we asked him to do the same welding paths as the ones he had previously programmed, to see how much time it would take. As you will see, the learning curve was pretty quick. Programming the robotic welder was faster with Kinetiq Teaching than with the traditional programming method (even if the welder was familiar with teach pendant programming).
So you see Kinetiq Teaching has been designed to leverage the knowledge of welders, not only by enabling them to move the robot welder with their hands, but also by making the welding programming task as intuitive as possible via a touch screen interface. When we look at this interface, it appears similar to an iPad application with options to select the recording of your welding parameters and trajectories.
Therefore, instead of needing to know how to insert lines of code, the welder only has to select on the touch screen which options would be appropriate for his welding path. If you want to compare this development to the evolution of computers, Kinetiq Teaching is like passing from a time where we had to write lines of code (or commands) on a DOS system versus having to click on an icon to activate a program.

Leave a comment