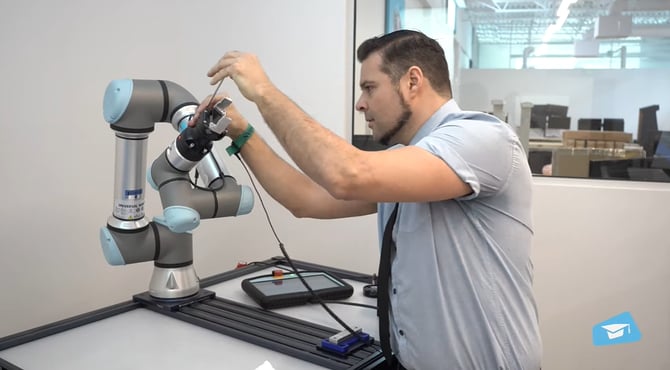
This article explains how to perform preventive maintenance on the Robotiq Hand-E gripper using the HND-MAINTENANCE-KIT. Maintenance should be done every 2 million cycles to ensure optimal performance, durability, and cleanliness of internal components.
Information
1. When to Perform Maintenance
-
Perform maintenance every 2 million cycles.
-
Signs of need may include inconsistent motion, debris buildup, or reduced grip performance.
2. Tools and Kit Required
-
HND-MAINTENANCE-KIT
-
4 mm hex key
-
Degreaser
-
Dry towels
-
Safety gloves and eyewear
3. Maintenance Procedure
-
Position the Gripper
-
Open the gripper to an intermediate position to ensure the six M4 screws on the rack housing are accessible.
-
-
Detach the Gripper from the Coupling
-
Use a 4 mm hex key to remove the four (4) M5-0.8 x 25mm screws.
-
Each screw includes a tooth lock washer—make sure not to lose them.
-
-
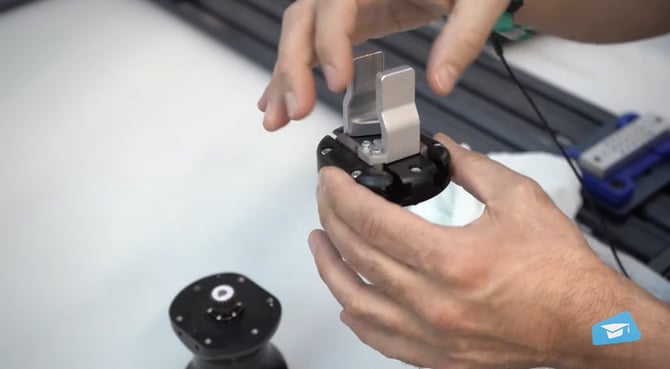
Remove the Rack Housing
-
Unscrew the six (6) M4 screws that hold the rack housing in place.
-
Carefully pull the rack housing away from the gripper body.
-
-
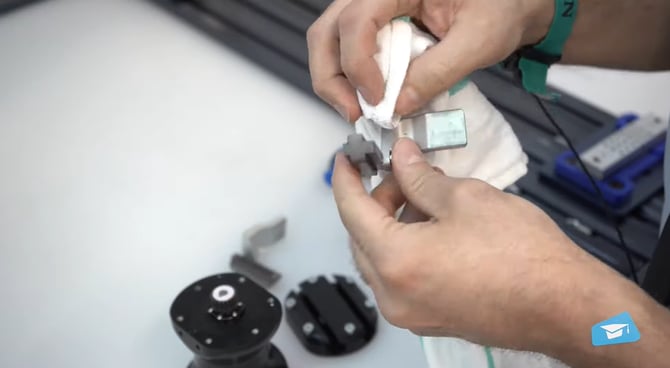
Extract and Clean Moving Parts
-
The two finger racks will slide off freely.
-
Clean the following with degreaser, then dry thoroughly:
-
Rack housing
-
Finger racks
-
Pinion
-
-
-
Finger holders
-
Fingertips
-
Coupling (especially the electrical contact area)
Use a dry towel to clean:
-
-
-
Replace Damaged Racks or Pinions (if necessary)
-
Inspect the racks and pinion for:
-
Broken or chipped teeth
-
Uneven wear
-
Rust or corrosion
-
-
If damage is found:
-
Replace the component using the spare parts included in the HND-MAINTENANCE-KIT
-
Follow the same reassembly steps after replacement
-
-
-
Greasing the Racks
-
Apply grease on all surfaces of the racks except the face with the tapped holes.
-
Ensure even coverage and no excess grease on contact surfaces.

-
-
Final Inspection and Reassembly
-
Visually confirm:
-
All cleaned areas are free of debris
-
Electrical contact is clear
-
No visible damage
-
-
Reassemble all components in reverse order:
-
Reinsert finger racks into rack housing
-
Reattach housing to the gripper body
-
Secure the gripper to the coupling using the M5 screws and washers

-
-
Performing regular maintenance on the Hand-E gripper extends its life, ensures safe operation, and maintains precise performance. Always follow the recommended 2-million-cycle schedule and use the official HND-MAINTENANCE-KIT.
Watch the full video tutorial: Hand-E Maintenance Video
Updated
January 2026