Context
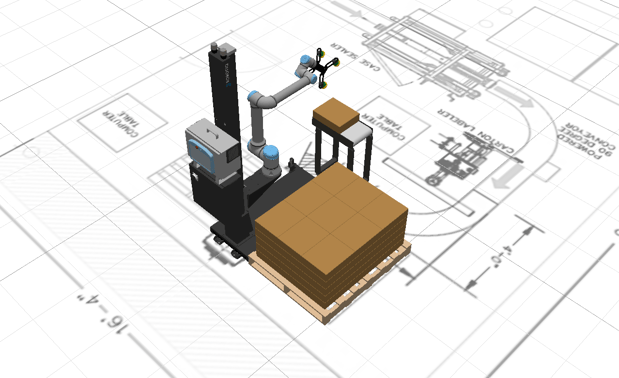
Importing your factory layout early in the planning phase helps everyone visualize the robot cell in its real environment. This streamlines communication, reduces errors, and supports more confident layout decisions.
Information
-
Access the Floor Plan Feature
-
Log into the Palletizing Configurator.
-
Navigate to the LAYOUT tab and select FLOOR.
-
-
Upload the Factory Layout Image
-
Click UPLOAD IMAGE.
-
Select a PNG or JPG file representing your factory layout.
-
-
Set the Scale with a Known Segment
-
Click DIMENSIONS.
-
Identify a line in the image where the real-world length is known.
-
Click the start point, then the end point.
-
Drag the white handles if needed to adjust.
-
Hold SHIFT to constrain the line to straight.

-
-
-
Enter the real-world distance in mm and press SAVE.

-
-
Adjust Image Position and Rotation
-
Use the on-screen X, Y, and Rotate tools to align the floor plan with the palletizing cell.
-
-
Apply and Exit
-
Click ACCEPT to confirm the adjustments and close the editor.
-
-
Display or Hide the Floor Plan
-
Use the DISPLAY FLOOR PLAN checkbox in the interface to toggle visibility.
-
-
Watch the Video Demonstration

Conclusion Uploading and correctly scaling a factory layout helps you plan better, detect obstacles early, and align expectations with your integrator or customer. Use this tool early for maximum impact.