Context
This article explains how to connect and configure a box sensor in the Robotiq Palletizing Solution. This sensor detects box presence on the conveyor and helps trigger pick actions.
Information
1. Connect the Sensor to the Controller
-
Wire the box sensor to a digital input on the controller, such as DI4.
-
Make sure the wiring follows the sensor’s power and signal requirements

2. Rename the Digital Input for Clarity
-
On the robot’s Installation tab, locate the digital inputs.
-
Rename the DI you used to something clear, such as
box_sensor.

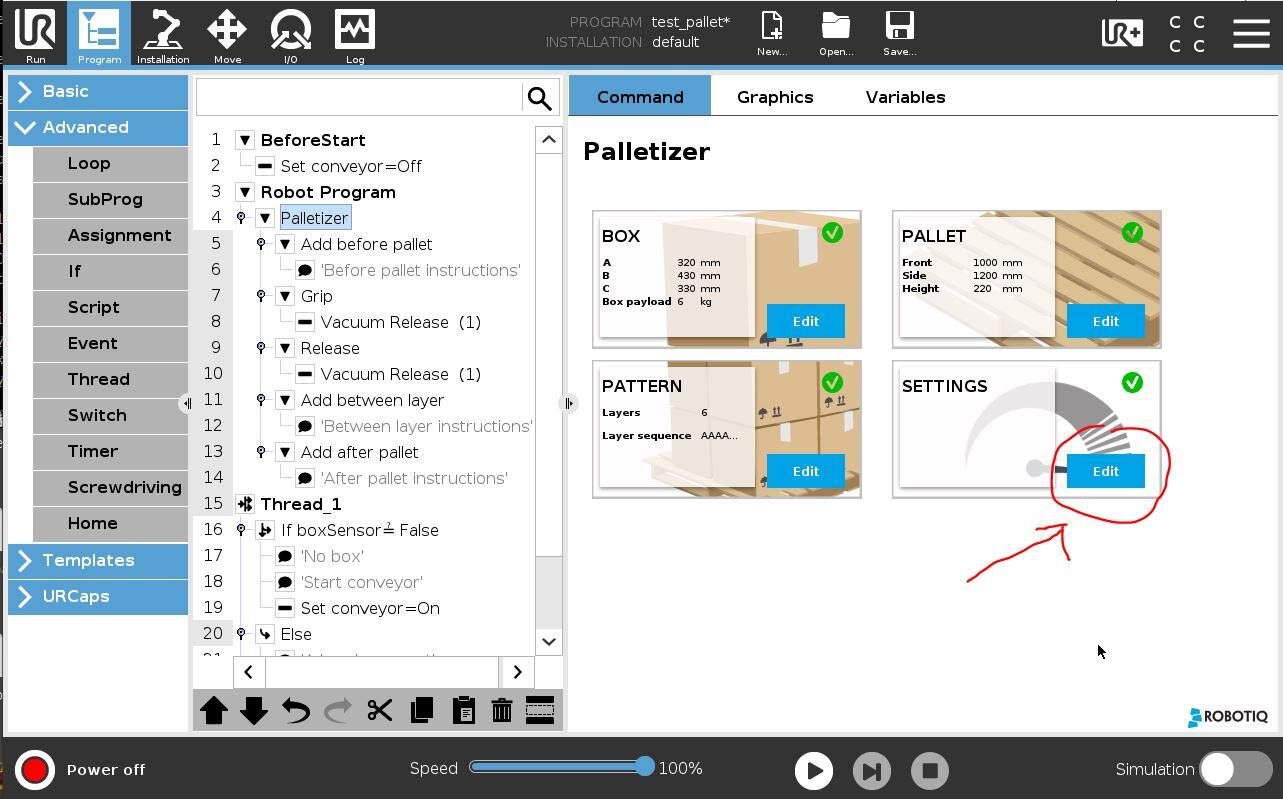
3. Select the Box Sensor Input in the Palletizing Node
-
Go to the Palletizer node in your program.
-
Open the Settings menu.
-
In the Box presence input dropdown, select the renamed DI (e.g.,
box_sensor).

4. (Optional) Add a Delay Between Detections
If your box sensor is positioned slightly upstream from the conveyor end stop, you can add a delay to better time the detection.
Still in the Settings menu, scroll to the delay option.
Set the delay time to match your conveyor and box spacing.

Conclusion
Your box sensor input is now fully configured. It will help the Palletizing Solution detect incoming boxes and trigger pick sequences at the right moment.