

You are looking at your first robot integration, you have heard about collaborative robots, but you don't know where to start? You’ve come to the right place. We have put together this blog post series to help you figure out which robot will match your specific application. For this second blog post, we'll start with assembly applications. The first post on machine tending can be found here.
Assembly tasks are becoming more and more automated. With the introduction of robots that can work alongside workers, the human robot collaboration is truly a step up. It is now easier, less risky and a lot faster to use a robot for your assembly line.

What is Assembly?
If you are manufacturing complete products, you most likely have an assembly line. This is where you will assemble, screw, glue, seal, insert all your different parts together to make a final product. As the workforce ages and workers get harder to hire, is can get tougher for the present workforce to do the required work at the required pace. On the other hand some parts of the assembly line can be repetitive, dangerous and/or boring for a human worker. With the introduction of a robot, you can insure worker health while increasing your productivity.
What about assembly with a Collaborative Robot?
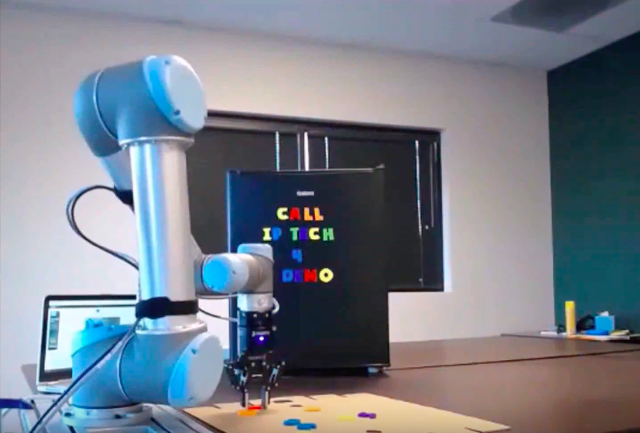
A collaborative robot or cobot for short is a general term used to describe power and force limited robots, robots that can be used without safety guarding or that has incorporated other safety features. This means it can be put beside a machine or a person and set to perform a certain task without needing to be fenced off from the surrounding environment.
That being said, to introduce a cobot to an assembly line and program it to load and unload parts is not as simple as it sounds. You will need to choose a robot that can accomplish the job and that can reach a level of performance that can be comparable to a human worker. To help you, we have listed the different things you need to consider for assembly tasks with a collaborative robot.
Robot Specs

- Repeatability: When there are tight tolerances, the robot has to be consistent in its assembly motions. In fact, with small/fragile parts such as PCBs (printed circuit boards), you need high repeatability in order to produce quality products and avoid damaging the parts during the assembly process. To accomplish this you will need to choose a robot than can meet your application needs in terms of repeatability.
Tip 1: Always think about the robot as only having one arm. This means it will need a mechanical stop and/or a jig to secure one of the two parts being assembled. This jig will ensure the repeatability of the setup.
Tip 2: Depending on the precision required, a force torque sensor may also be a good idea. - Payload: The payload is the total weight the robot can carry. You need to weigh your tool and the heaviest part you want to carry. This will determine your robot payload.
Tip 1: Think about power tools or other kinds of tools that can be used. These devices have a relatively high mass and the robot needs to match or exceed this payload.
Tip 2: If you are applying force on a part, you need to respect the robot's maximum rated payload. - Reach/Rotation: The robot will need to take a part from somewhere and place it somewhere else (pick and place). Measure the distance between these 2 points and divide it by 2. This will give you the minimum reach that the robot must have.
Tip 1: If you need a large reach, your payload will automatically rise as a larger robot is a stronger robot.
Tip 2: The reach also includes the number of axes or degrees of freedom, to learn more about this subject, check out this article.
Tip 3: If you are screwing a part make sure to have a robot with infinite rotation at the wrist.
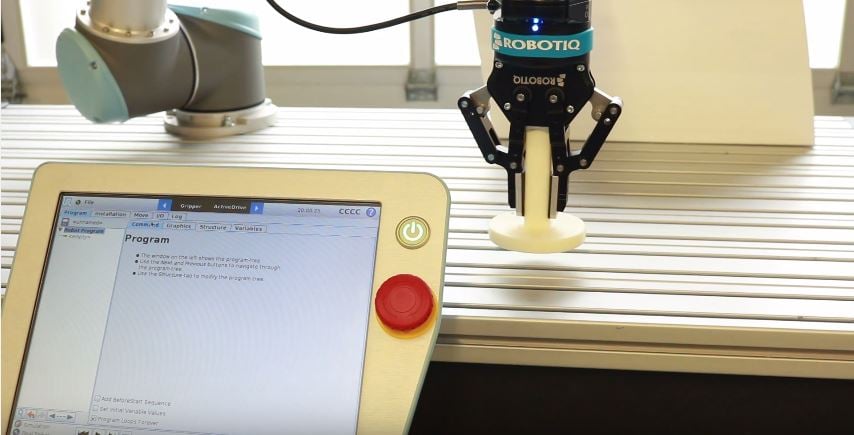
Gripper Specs

- Flexibility: The flexibility of the gripper is related to the fact that it can handle different kinds of parts with the exact same configuration. You will need to use a flexible gripper, AKA an Adaptive Gripper if you need to handle different objects and shapes, such as handles, metal, plastic, or rubber parts; round, square or other shapes.
Tip 1: Super flexible grippers (5 fingers for example) usually have low payloads and a very high price point. What is important is that your gripper meets your payload requirements and that it provides enough force for your application.
Tip 2: Go for an electric gripper, they provide better granularity in grasping forces and reduce the integration time.
Required Workspace
- Safety: The robot will work alongside humans. You must be aware of the danger this presents. Make sure to perform a risk assessment before starting up the robot. In other words, comprehensive training for everyone is advisable so that all are aware of the risks involved in having a robot on the shop floor. Cobots are safe, but still represent some degree of danger.
Tip 1: Use the ISO standard to guide your risk assessment and don't forget to check local regulations on the subject. To learn more, download this eBook on risk assessments for collaborative robots.
Tip 2: Remember, even if the robot is safe, if it is carrying a knife, then ultimately it can still be dangerous. - Machine Interface: Make sure the interface for your robot is compatible with the machine you will be using it with: Conveyor belt, power tool, etc.
Tip 1: This seems simple, but is probably the most complex part of the process. Make sure to reserve time and budget for this one. - Mobility: You may want to move your robot from time to time, for example when you change production. Robots usually use 120V directly connected to the wall. This means you can move it wherever you want with a rolling base. All you need to do is plug it in at its new location and adjust the programming for the new process.
Tip 1: Make sure to secure the position of the robot since you want it to be repeatable.
Tip 2: If you intend on moving the robot to a given number of fixed locations, make sure to have mechanical stops or anchors where you can clip your robot in and start the program.
 Use the ISO standard to guide your risk assessment and don't forget to check local regulations on the subject. To learn more, download this
 We hope your assembly automation project is successful!
If you need more information on how to shop for a collaborative robot or what their key features might be, we have put together a complete eBook on this subject.


Leave a comment